Since I knew what a car was I wanted a 635. Nothing else could fill in the void that a picture in one of the newspapers created. It is said that first impressions are the most important and I must admit that there is some to it- after 15+ years that image is still stuck in my head!
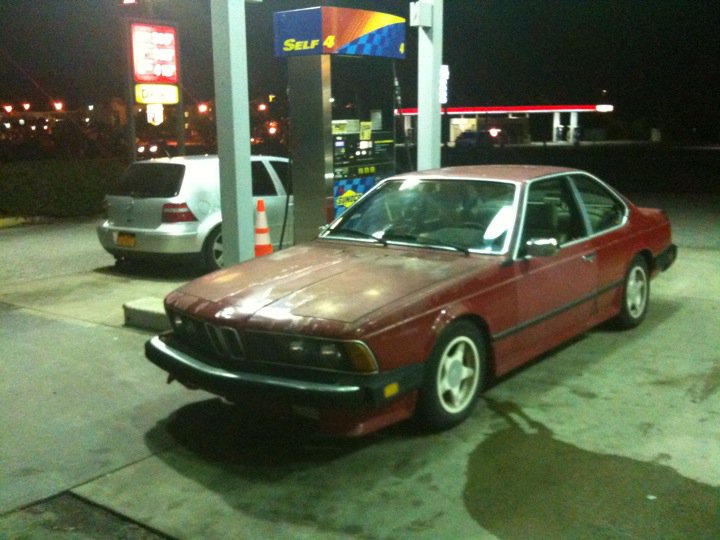
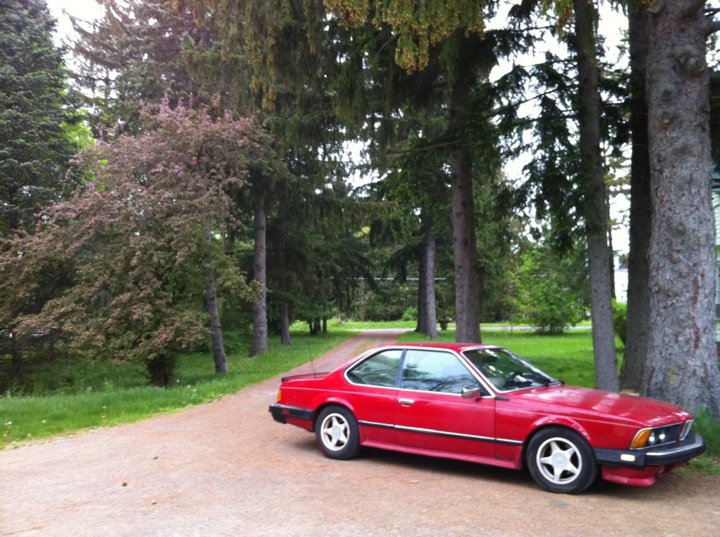
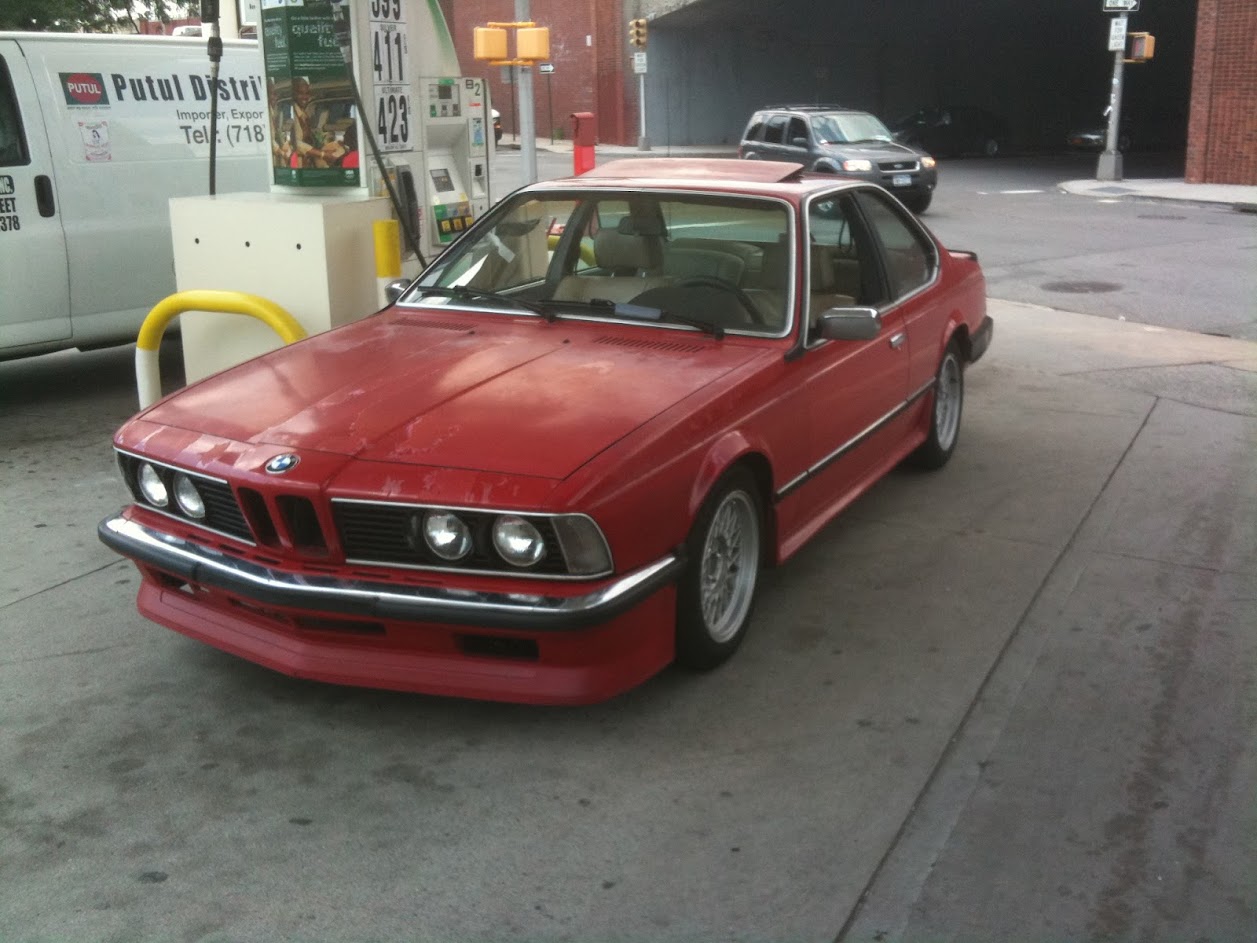
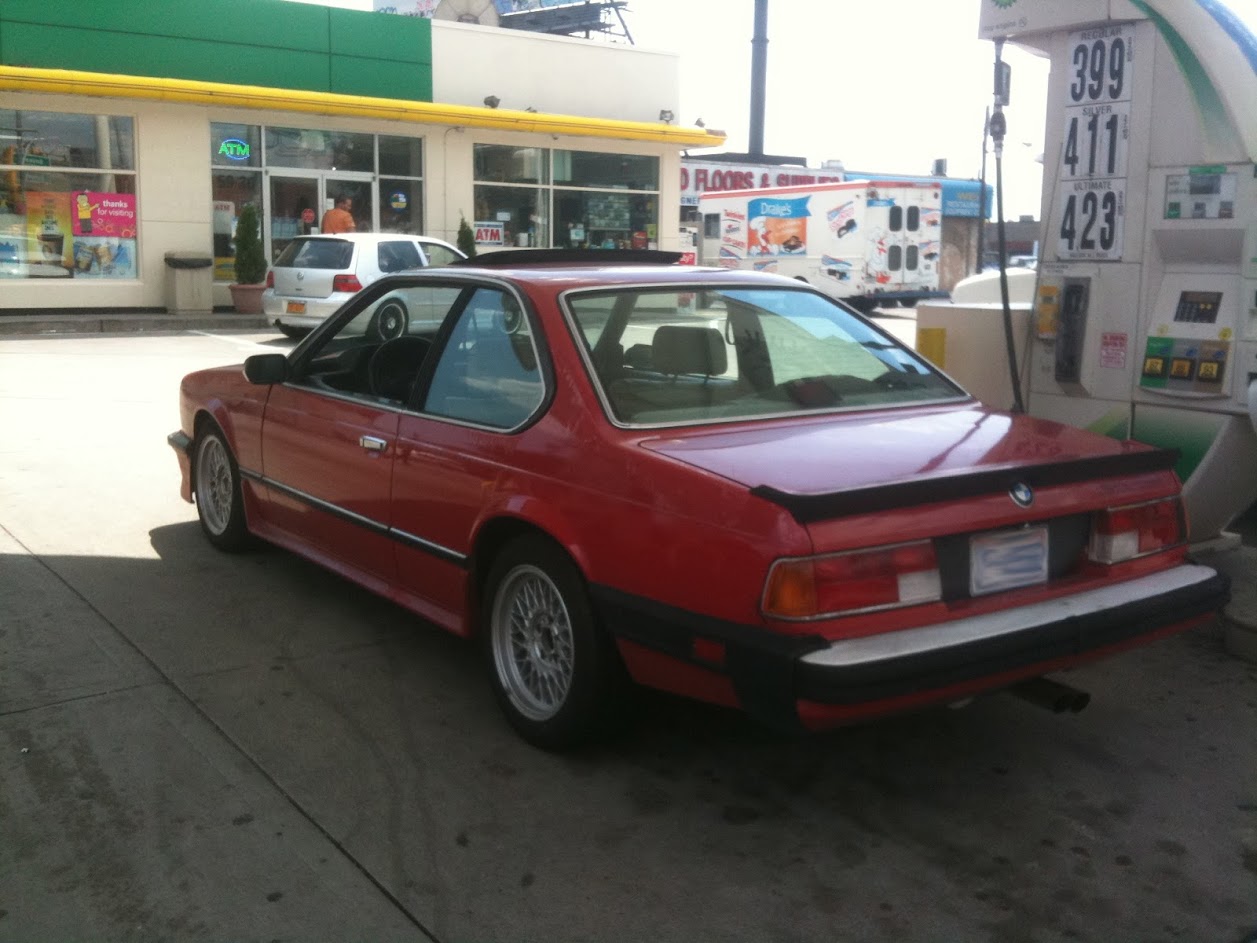
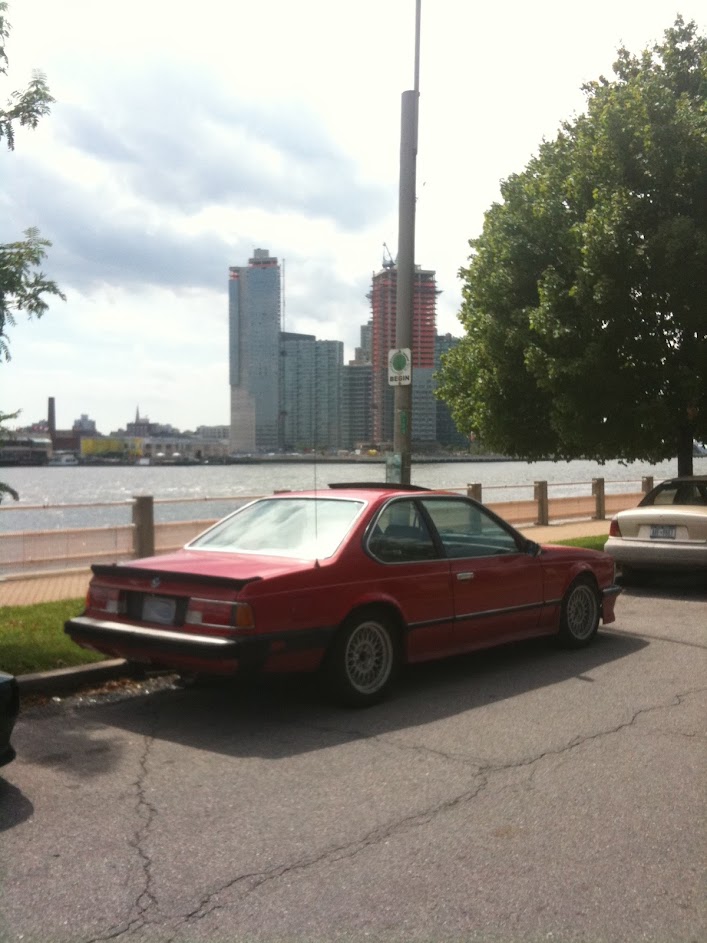
I was looking quite a long time for the car I wanted to buy. I did not want a pristine example because I just couldn't go through all that I have planned knowing that I destroy an original example. So I found this 1987 635CSi on craigslist and after 14 hour drive one way to see it I was $1.2k poorer. The car not only made 600 mile journey back home without issues but drove about 4k miles through the summer as a daily driver before it decided to rest. My previous plans assumed using m70 but my friend got rear-ended in his '98 540 in the meantime. I just could not pass up m62B44+6 speed combo (SC anyone


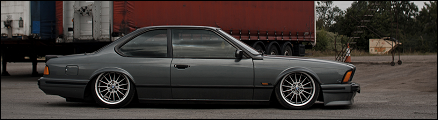
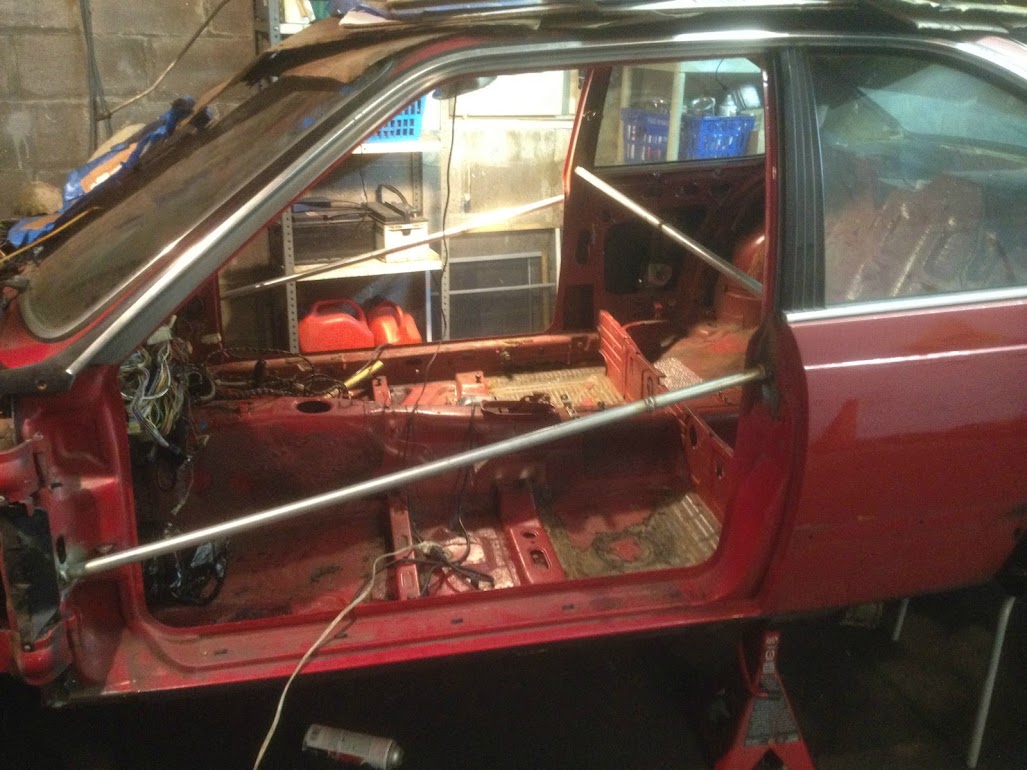
The car is going to be a daily driver, painted probably Sterling Gray with tan interior, full euro conversion, e38 style 5s, AC. I want to keep original spirit of the car but not without some major updates. Car is being stripped right now in preparation for rust removal. I expect to have the chassis painted this summer keeping in mind that I will drive it on the next.
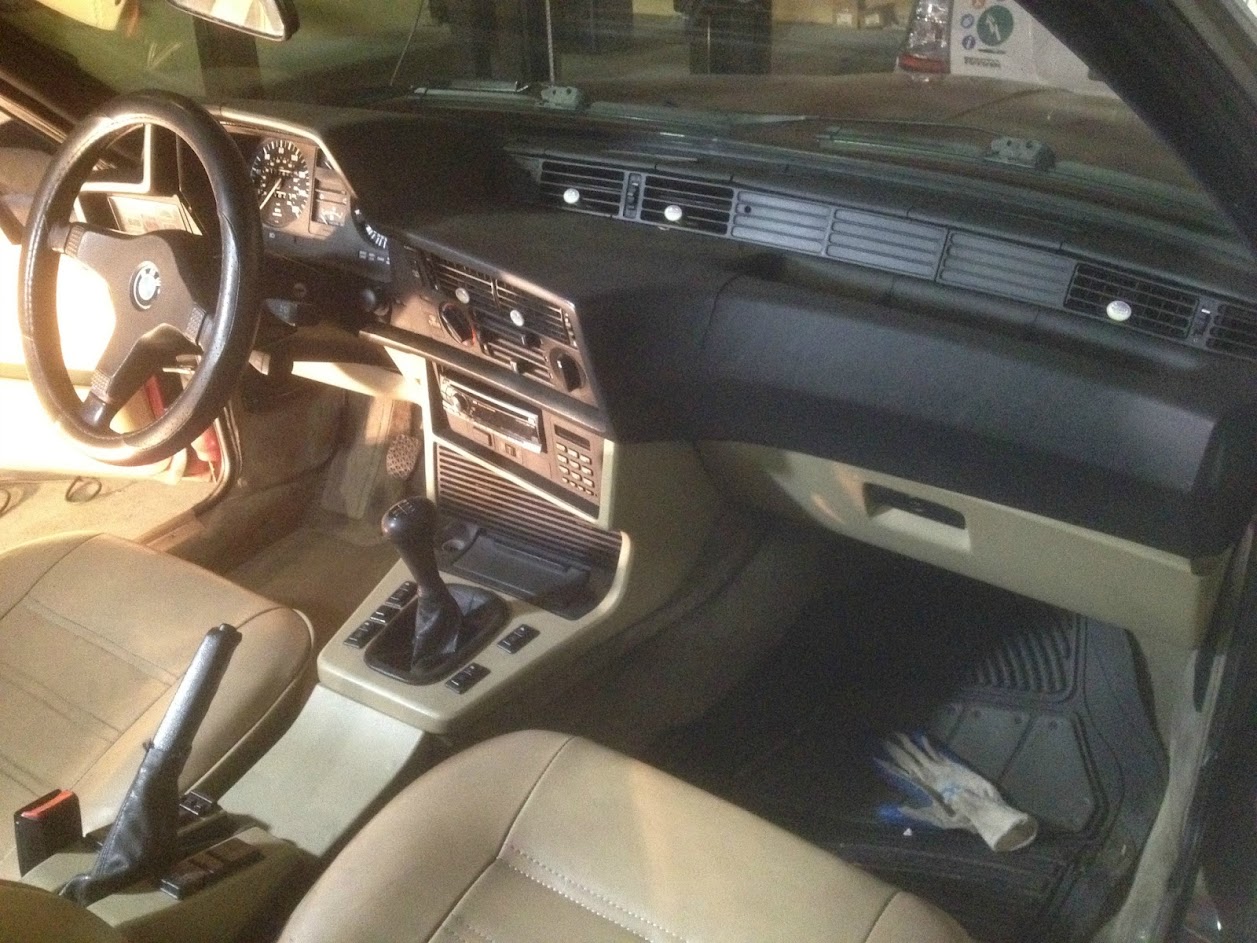
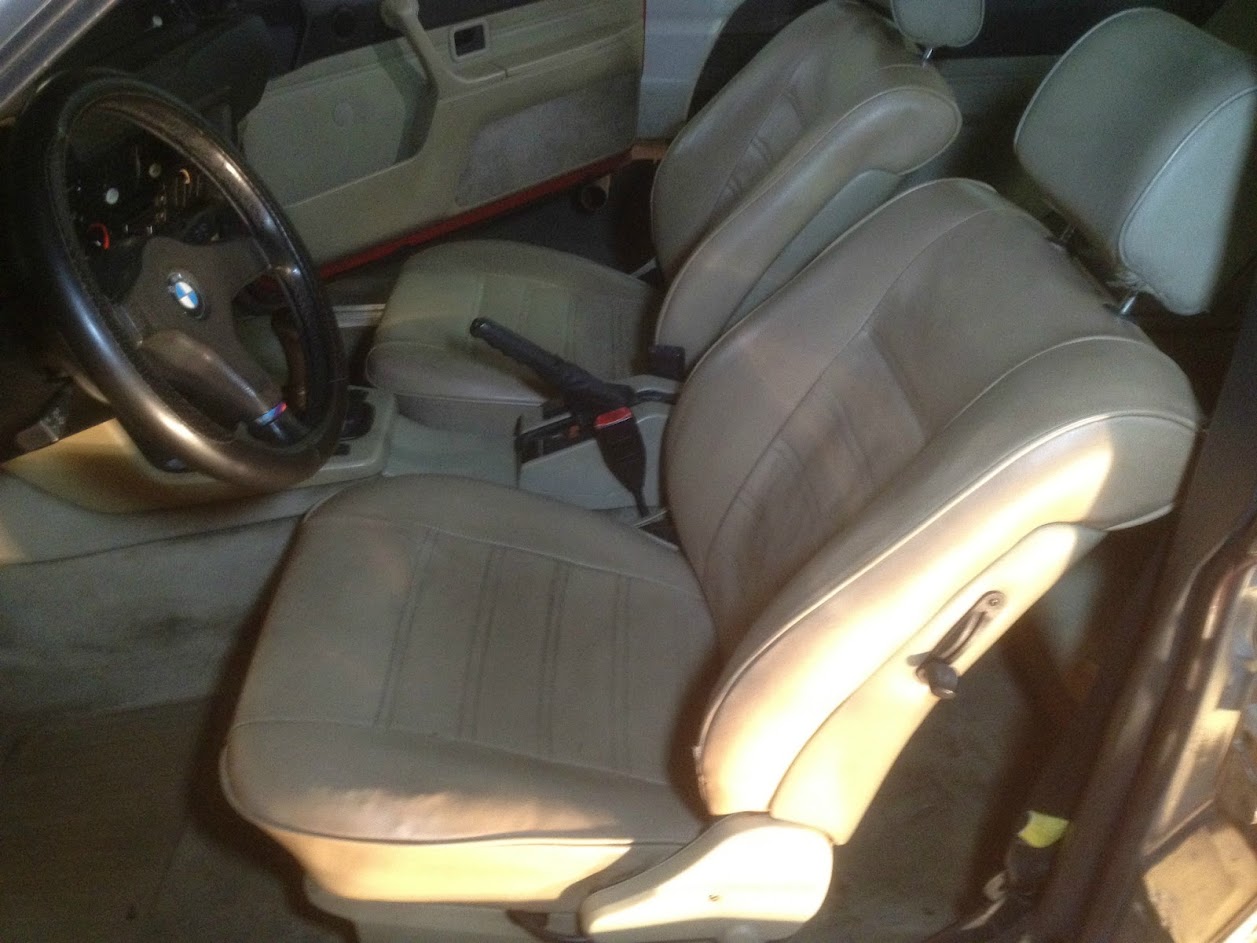
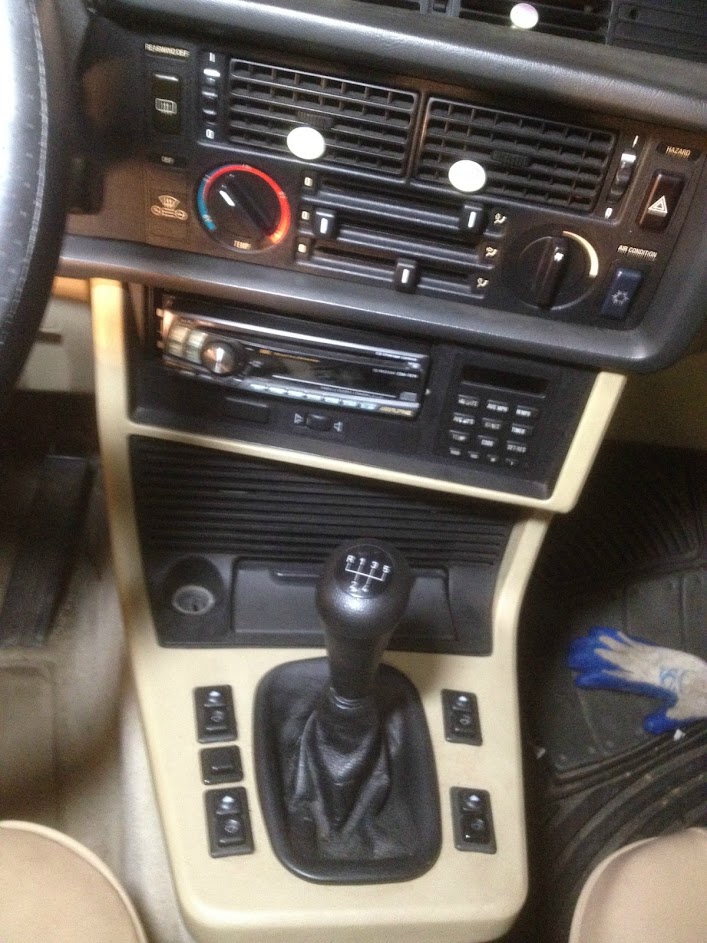
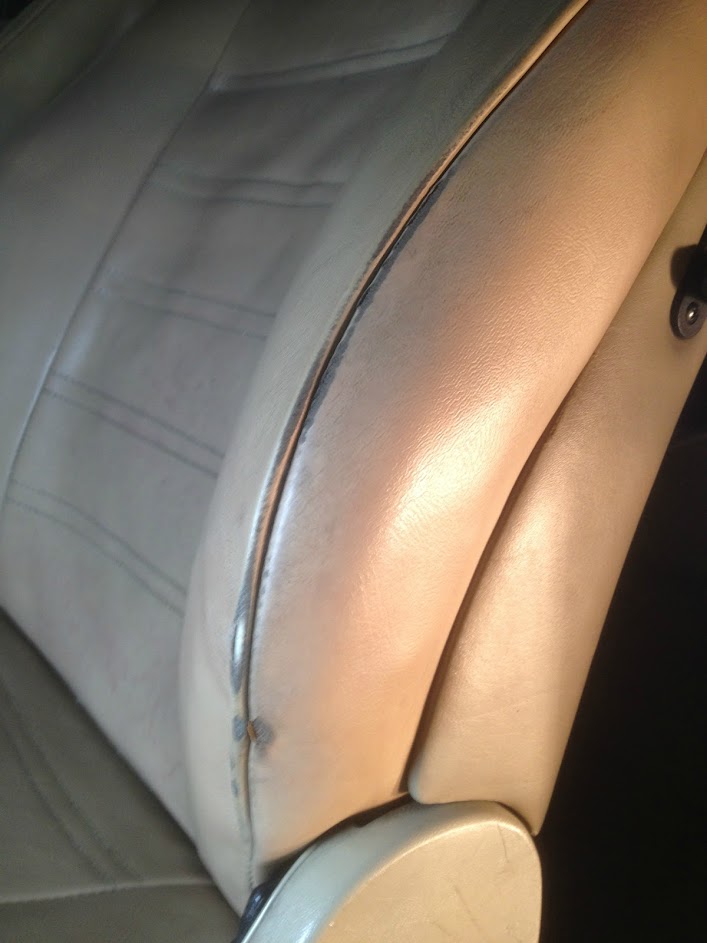
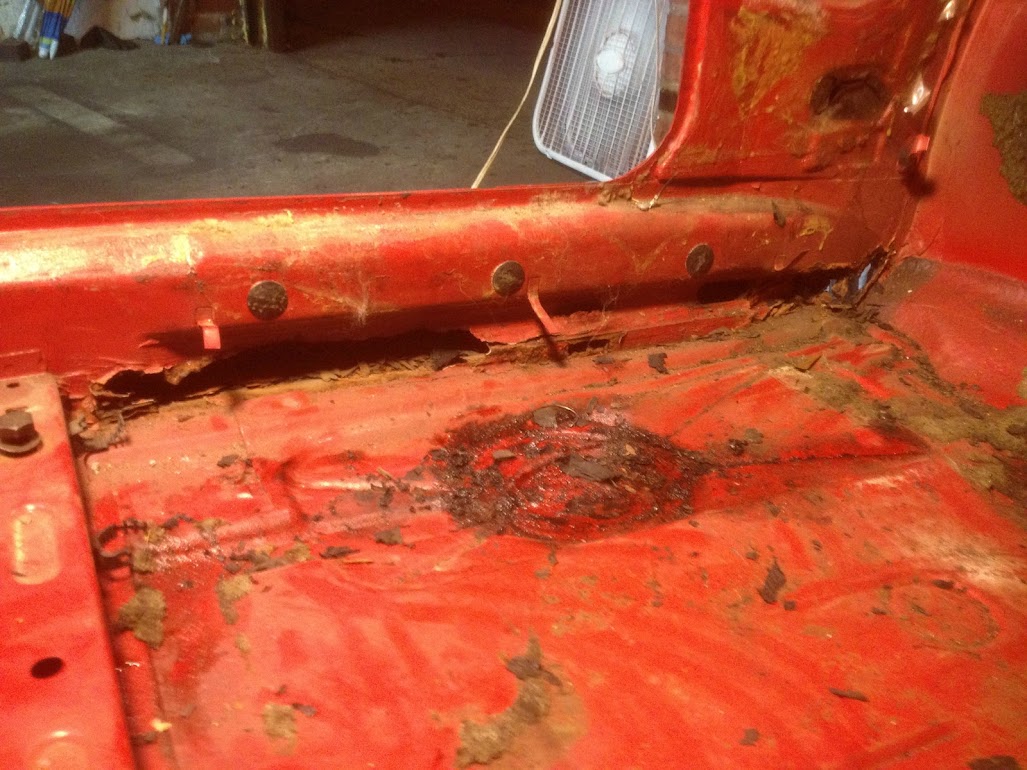
General condition of the car is surprisingly good. Worst part of the interior is the dash but leather is nice (car used to have seat covers) and I really love the 87 trim with the fridge in the back! Everything worked when I got the car except driver side rear window motor - amazing. Rust is an issue here but nothing that cannot be handled. Body is generally straight and needs just a respray but I will take considerable amount of time to make the modifications I have in mind.
It is really to much to list 15 years of planning over here so I will update as I go :) Just from the top of my head:
Chassis preparation:
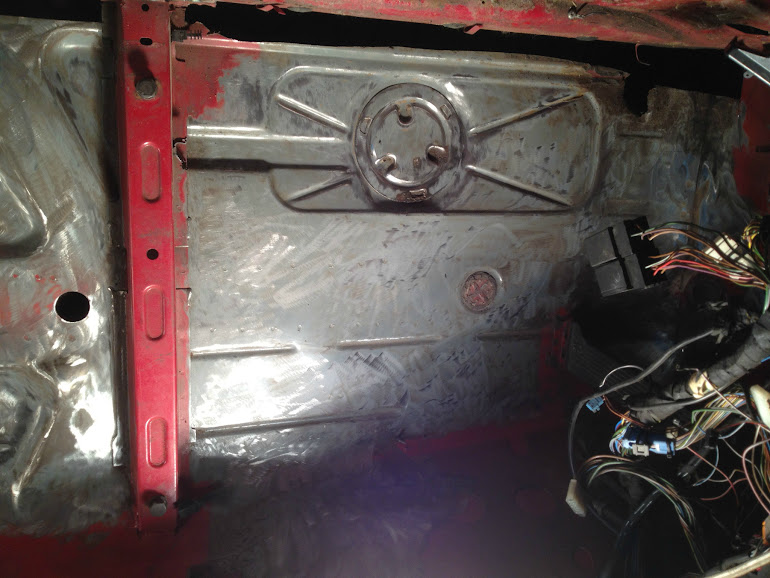
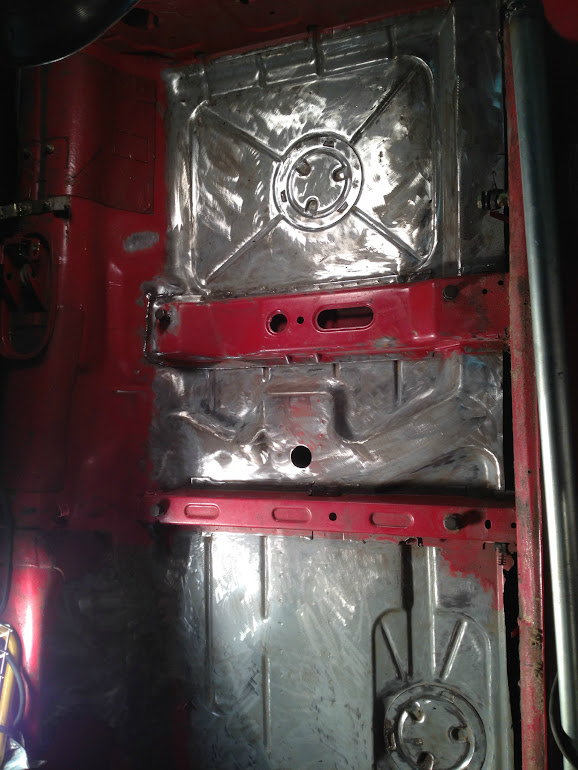
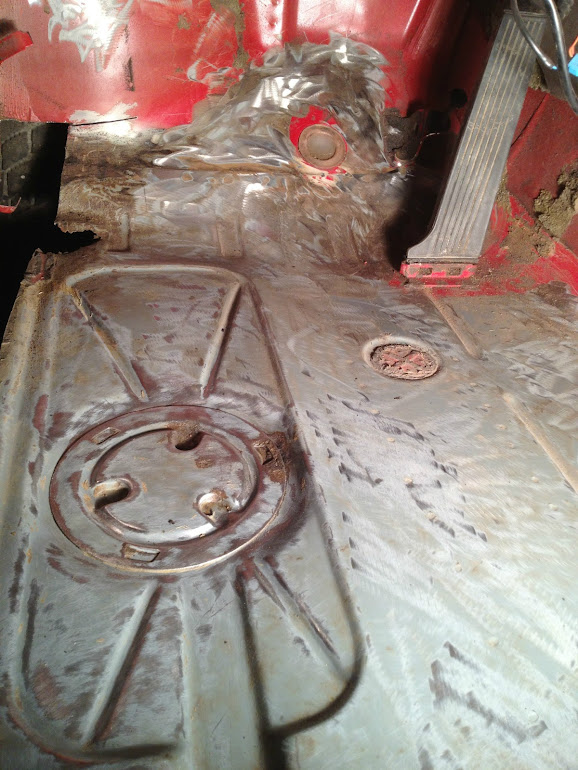
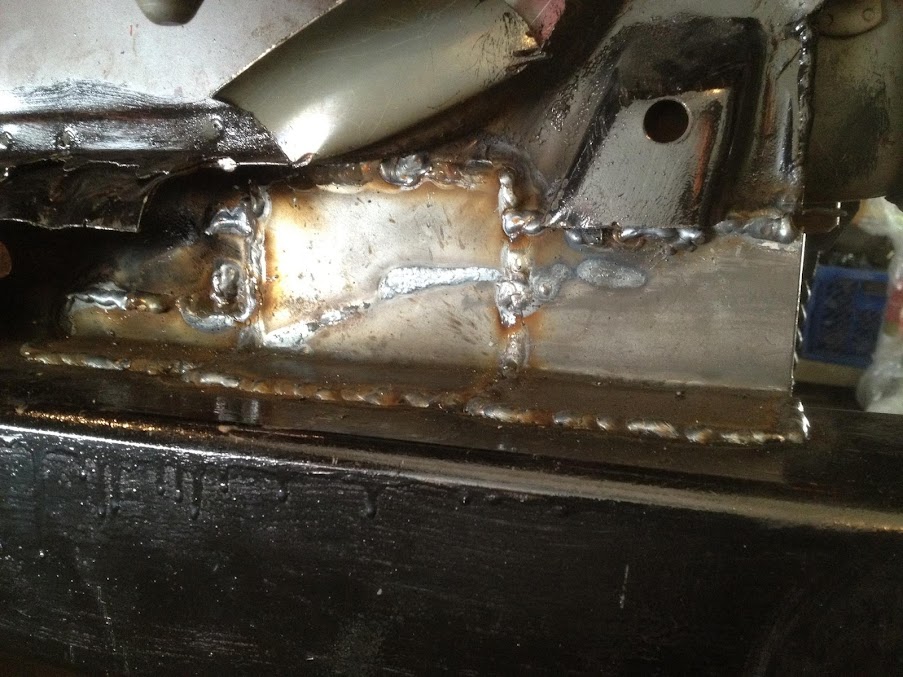
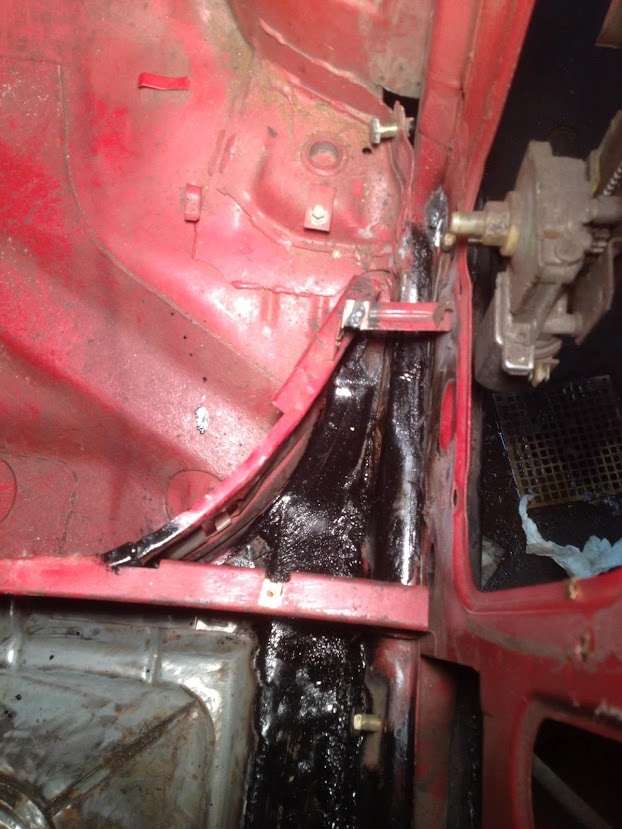
- new passenger side floorpan,
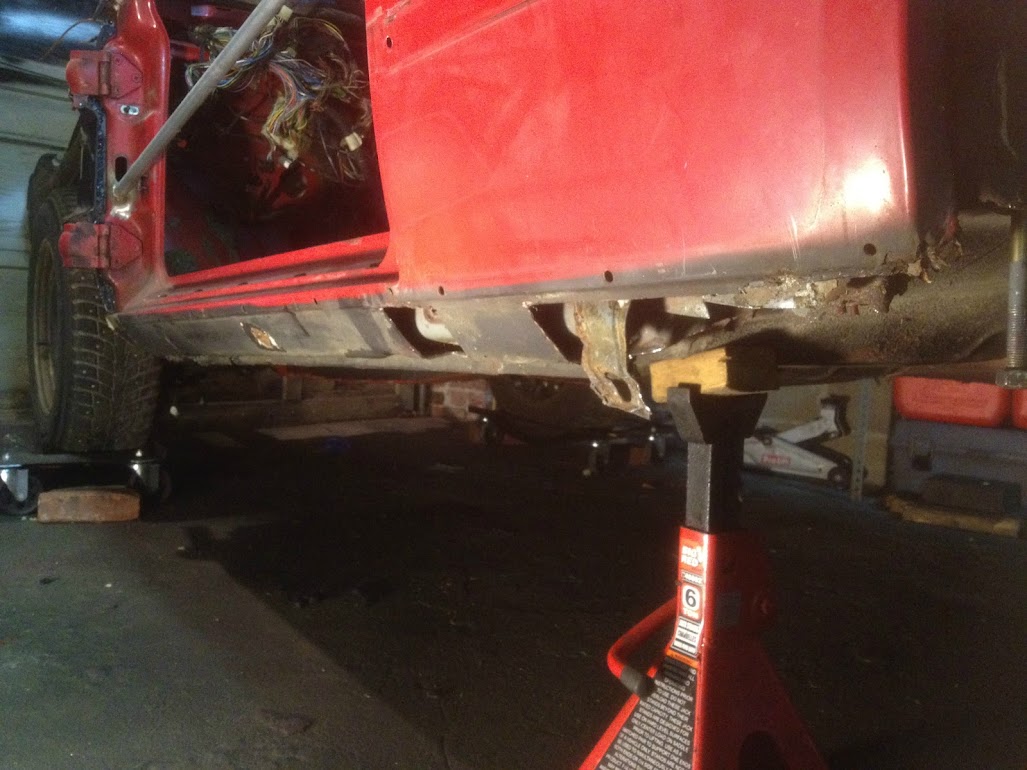
- outer skin from e39 rocker panels,
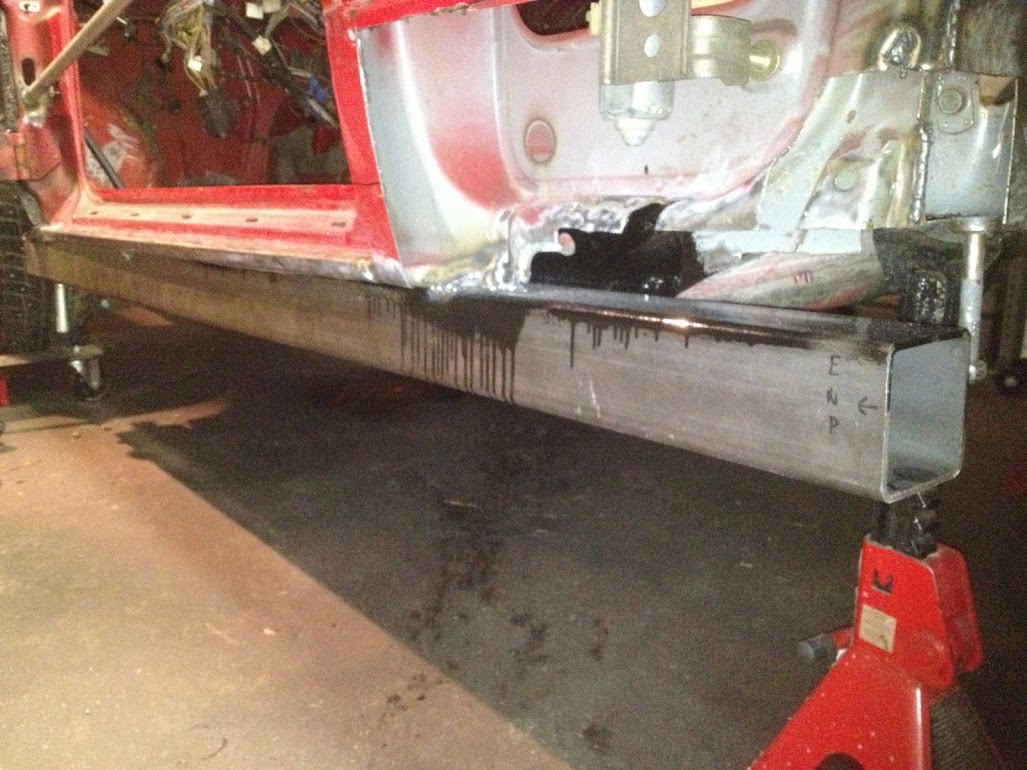
- inner rockers substituted by 3.5x3.5 inch 3/16 wall 6 foot steel square conduit
- custom rear end for euro bumper (no strip or spoiler will be installed),
- custom radiator support ,
- front subframe modification to retain stock m62 engine mounts,
- rear subframe camber adjustment mods, new bushings etc,
- steering rack reinforcement,
- reinforcement of strut towers
- bracing of rear differential mount and trunk floor
Engine:
- valve cover gaskets,
- water pump and all cooling system components,
- rear main seal
- new clutch,
- custom headers and intake.
- OBD1 conversion with DME 404
Electrical:
- installation of audio system which no one will ever see,
- carputer,
- remote start with other goodies,
- e34 smoked euro hella projectors with 5k HIDs,
- custom LED tailights,
- modified e24 gauges with CEL and other goodies - LED backlight etc,
- built in 3 cameras (front, rear and driver),
- valentine
Interior:
- dashboard restoration - epoxy resin + vinyl wrap,
- dying all leather pieces and painting rest of the trim to match,
- leather headliner from m6,
- e30 rearview mirror,
No time, effort nor $ will be spared to complete the project however being a daily diver the car will not be super extra clean inside out. Everything within reasons ;]
Pictures
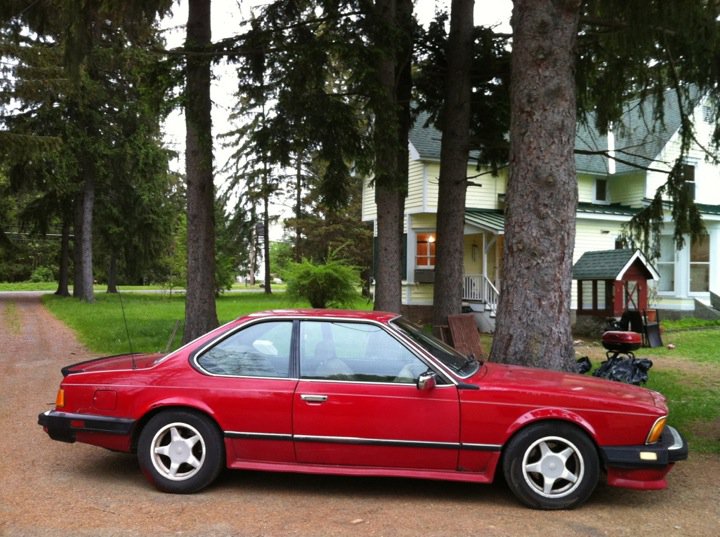
1. Pick up:
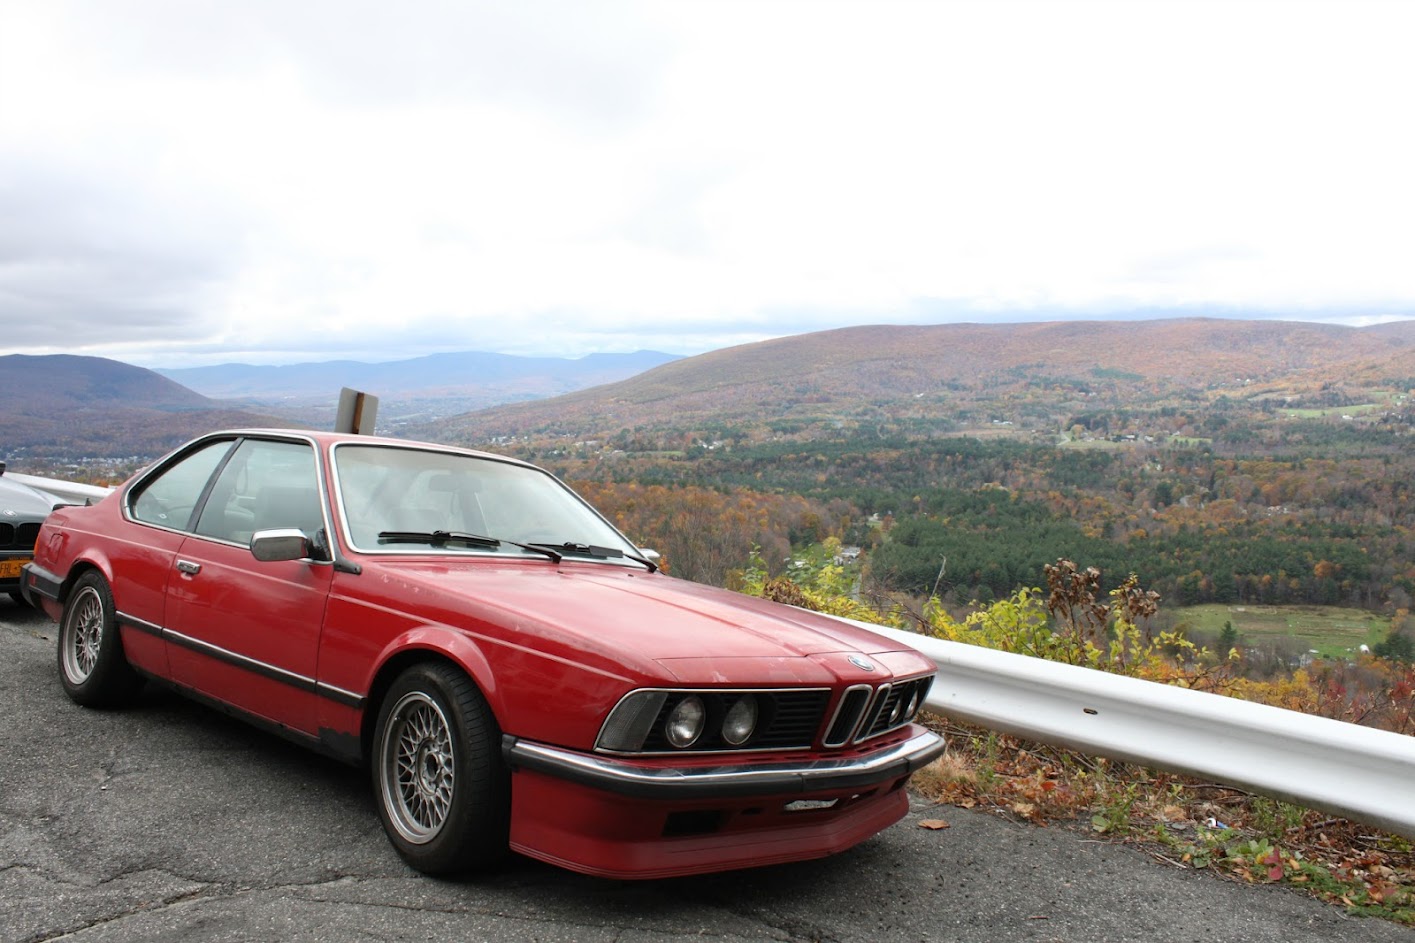
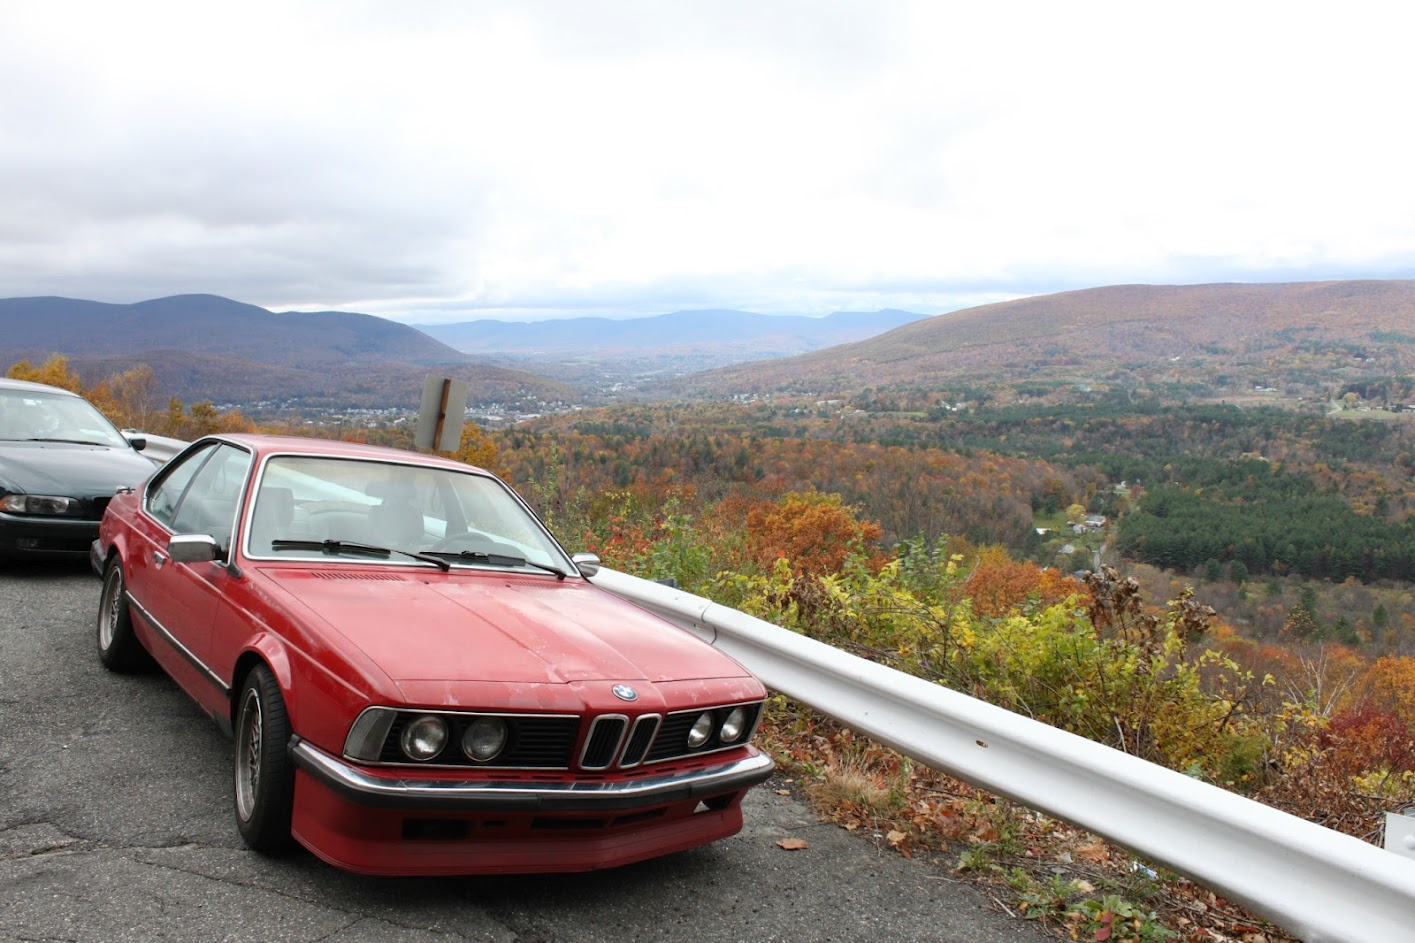
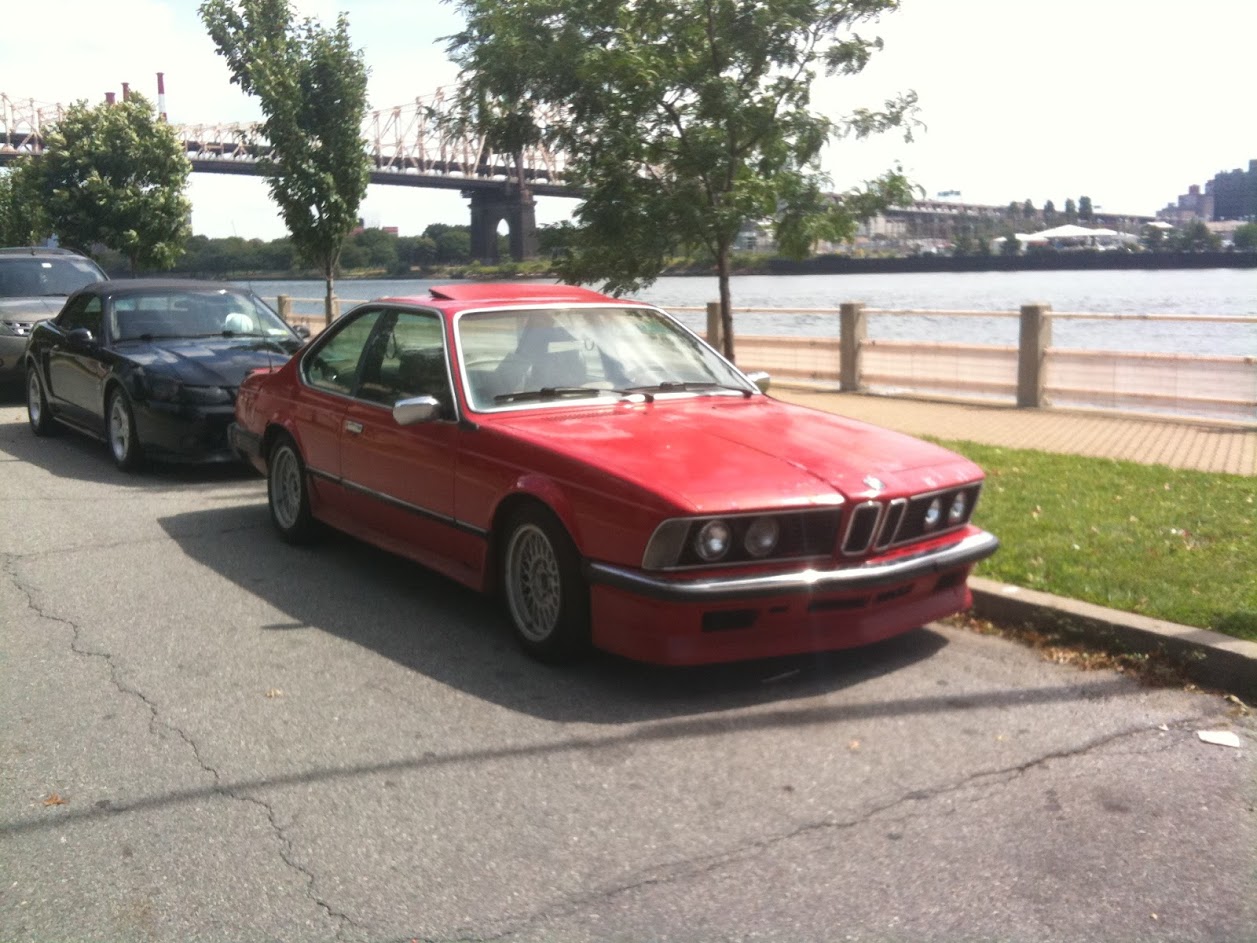
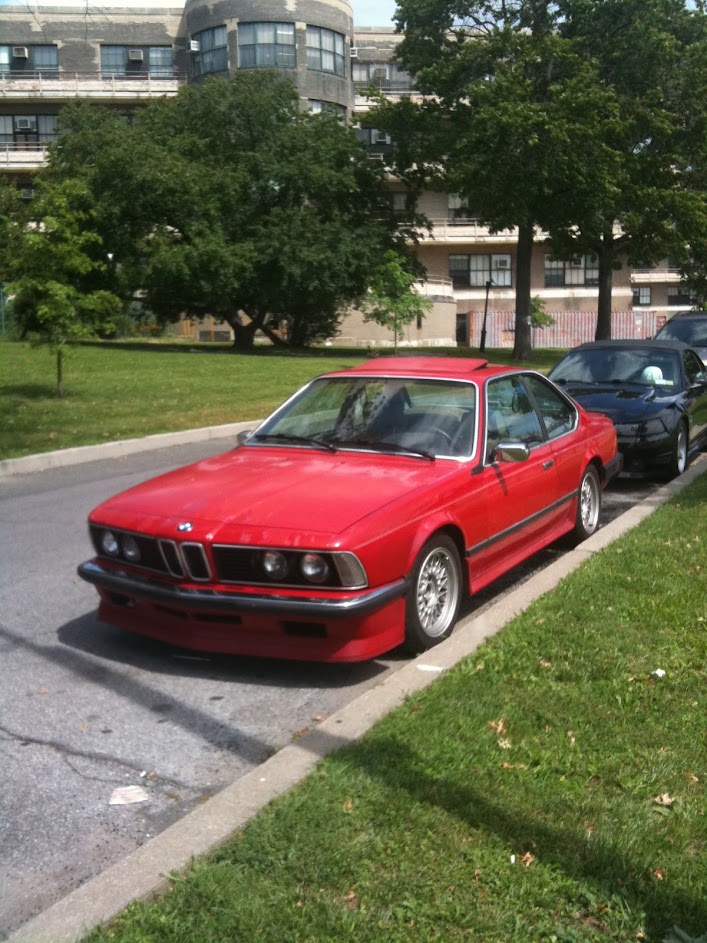
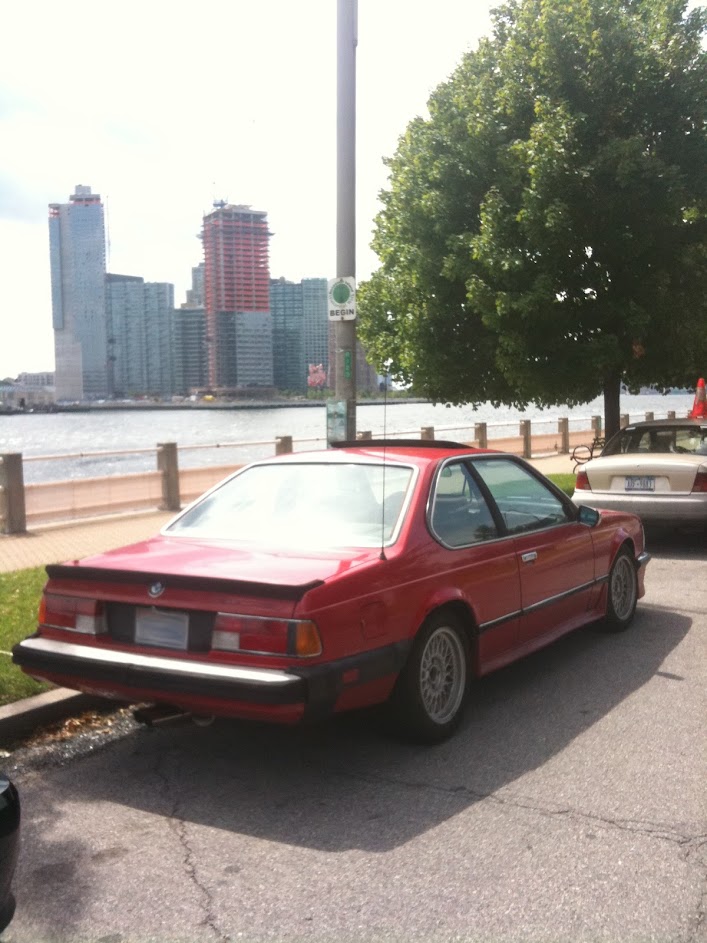
After a good wash:
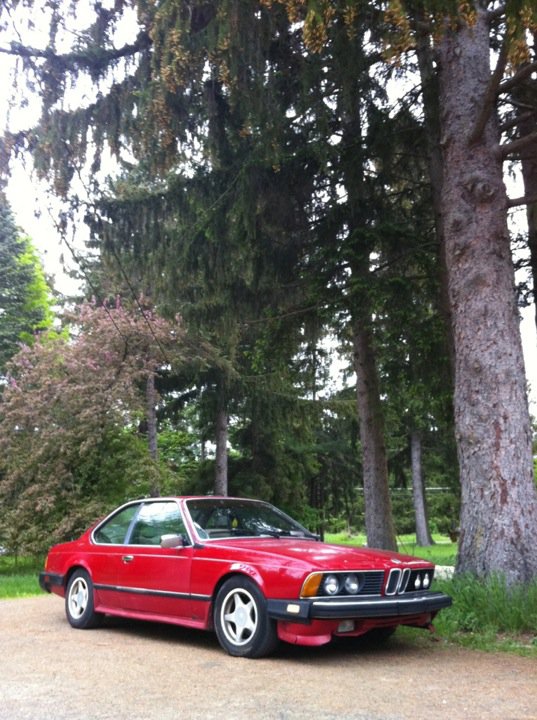
New shoes and front bumper:

Interior:

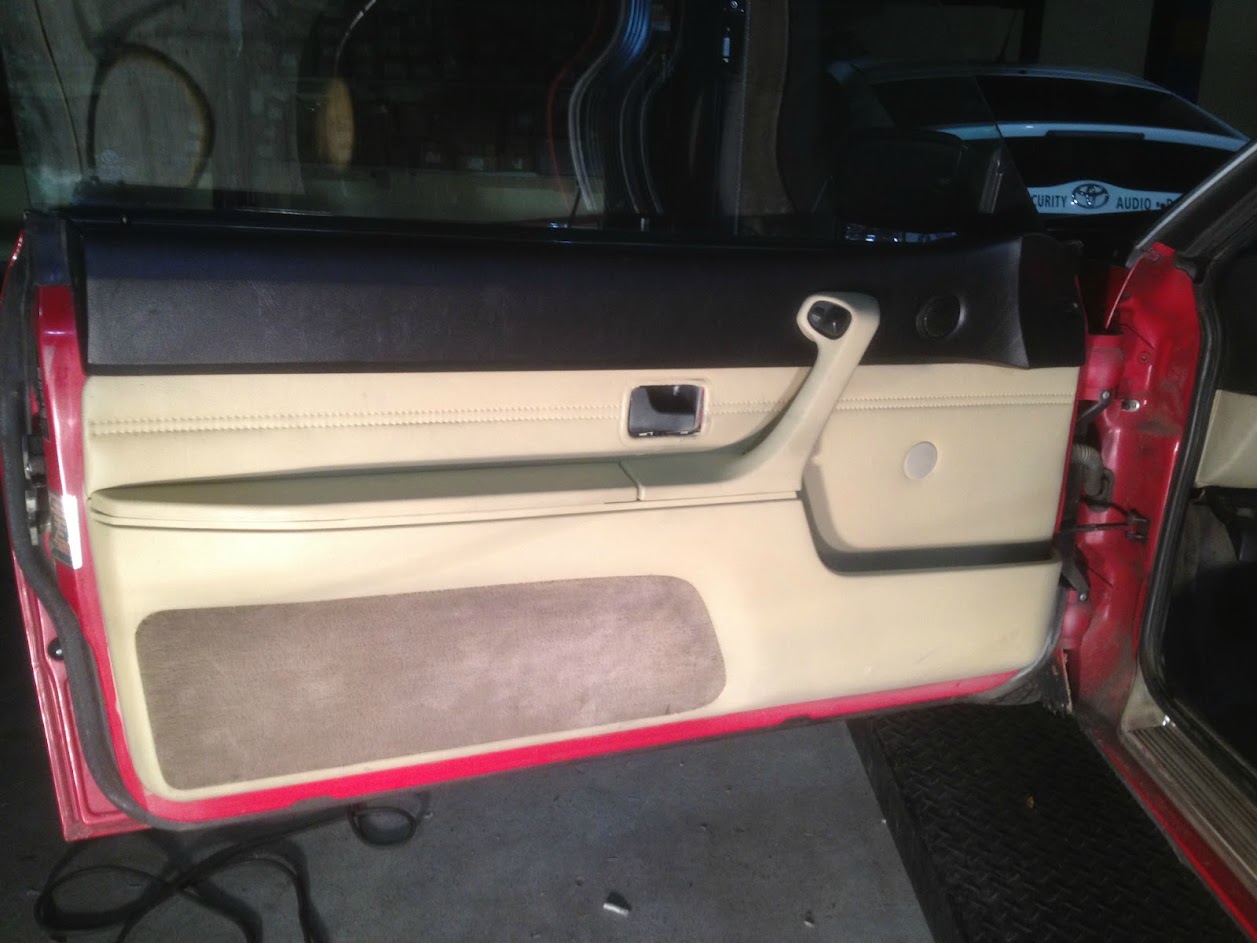
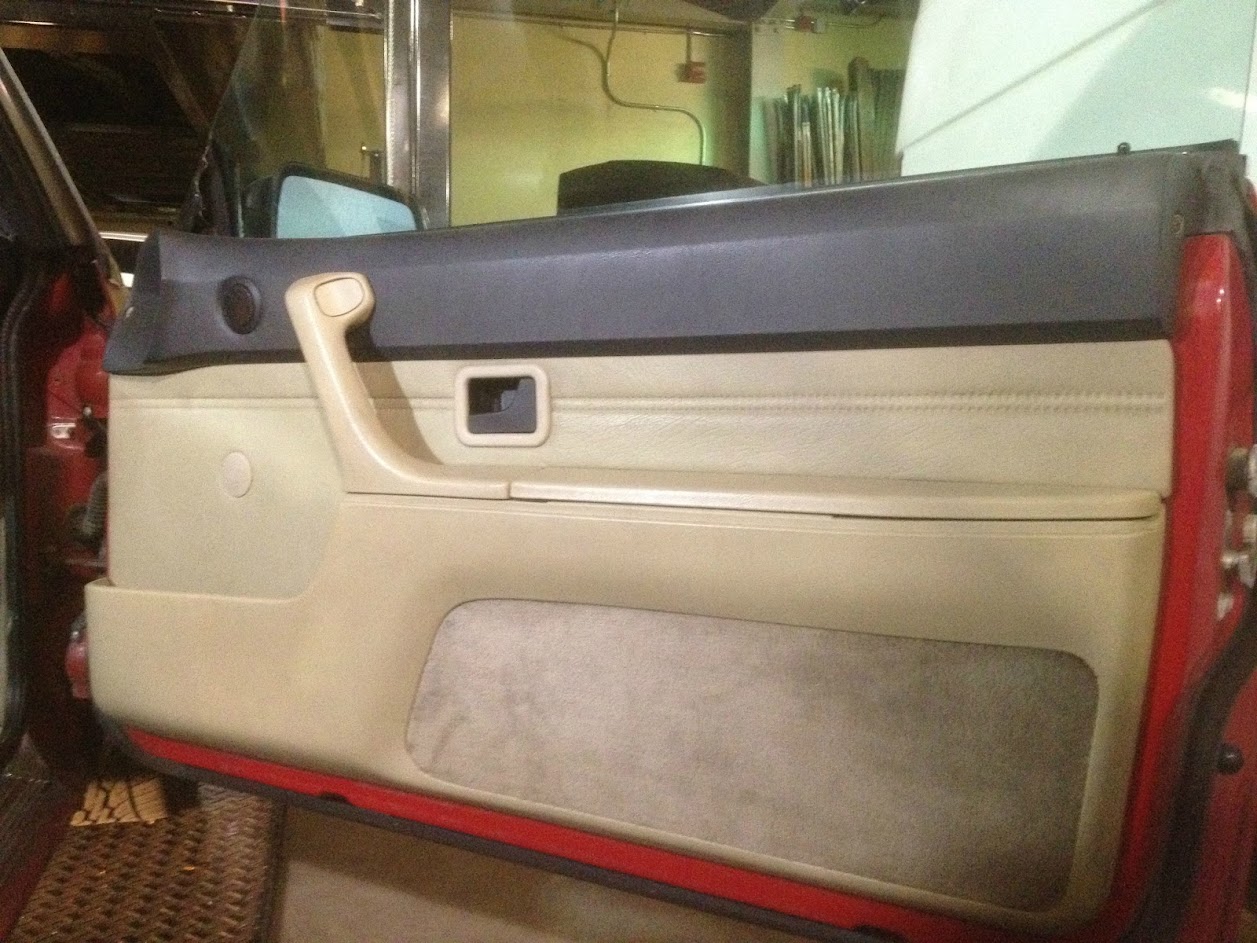
Door card restored/unrestored
Idiotfest:


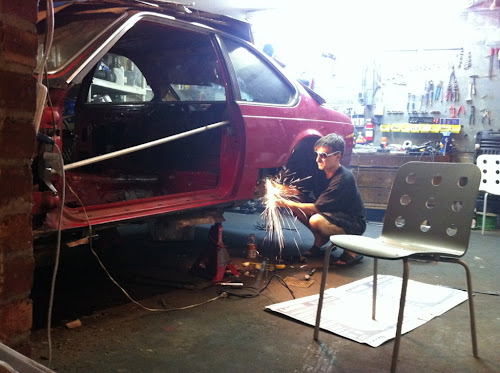
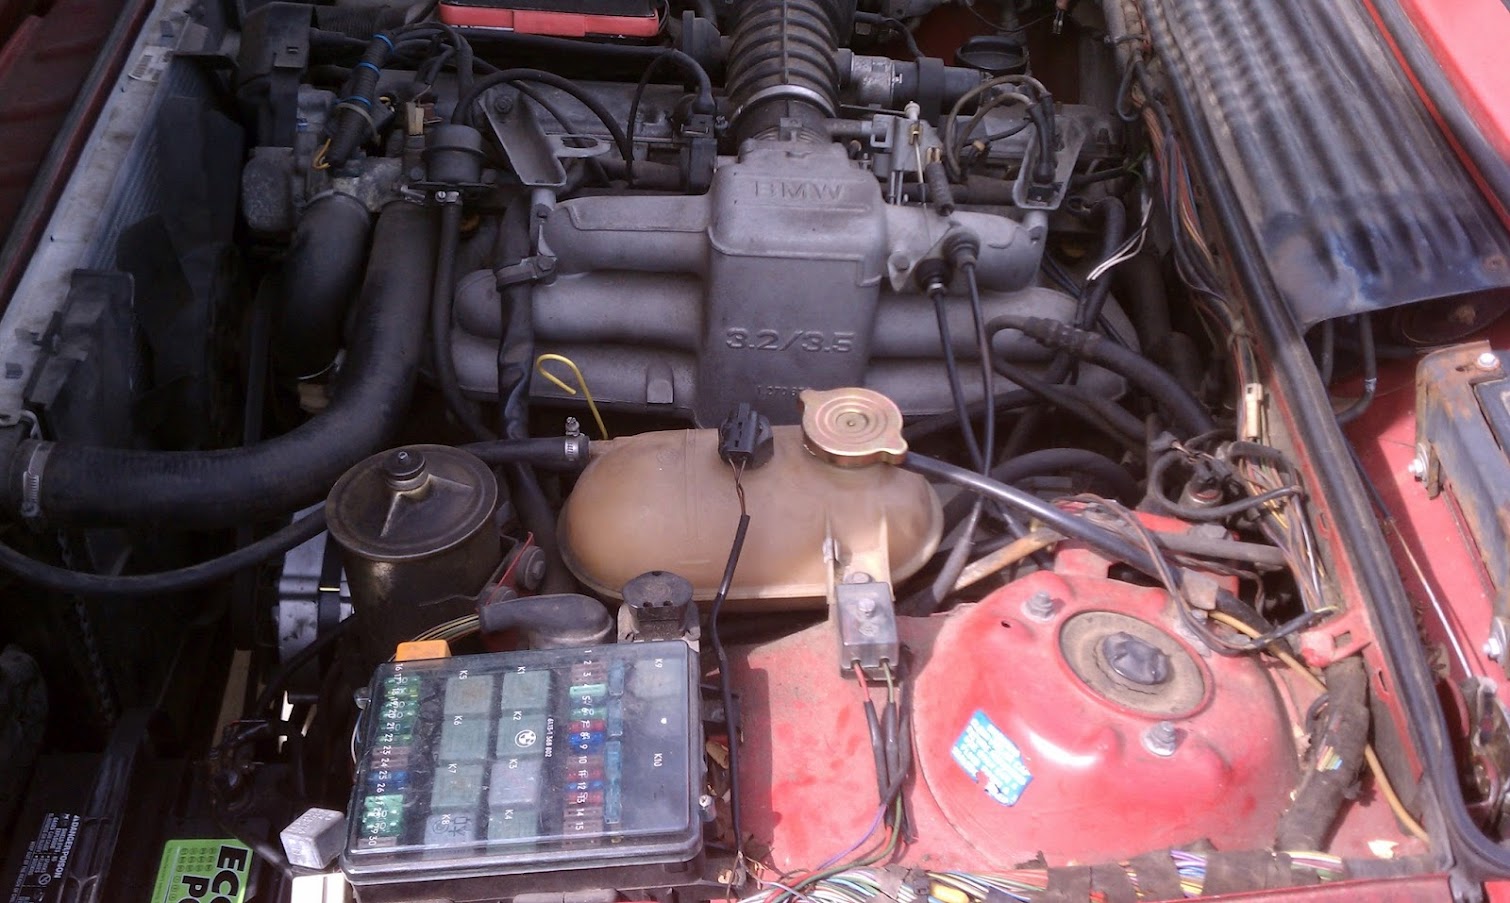
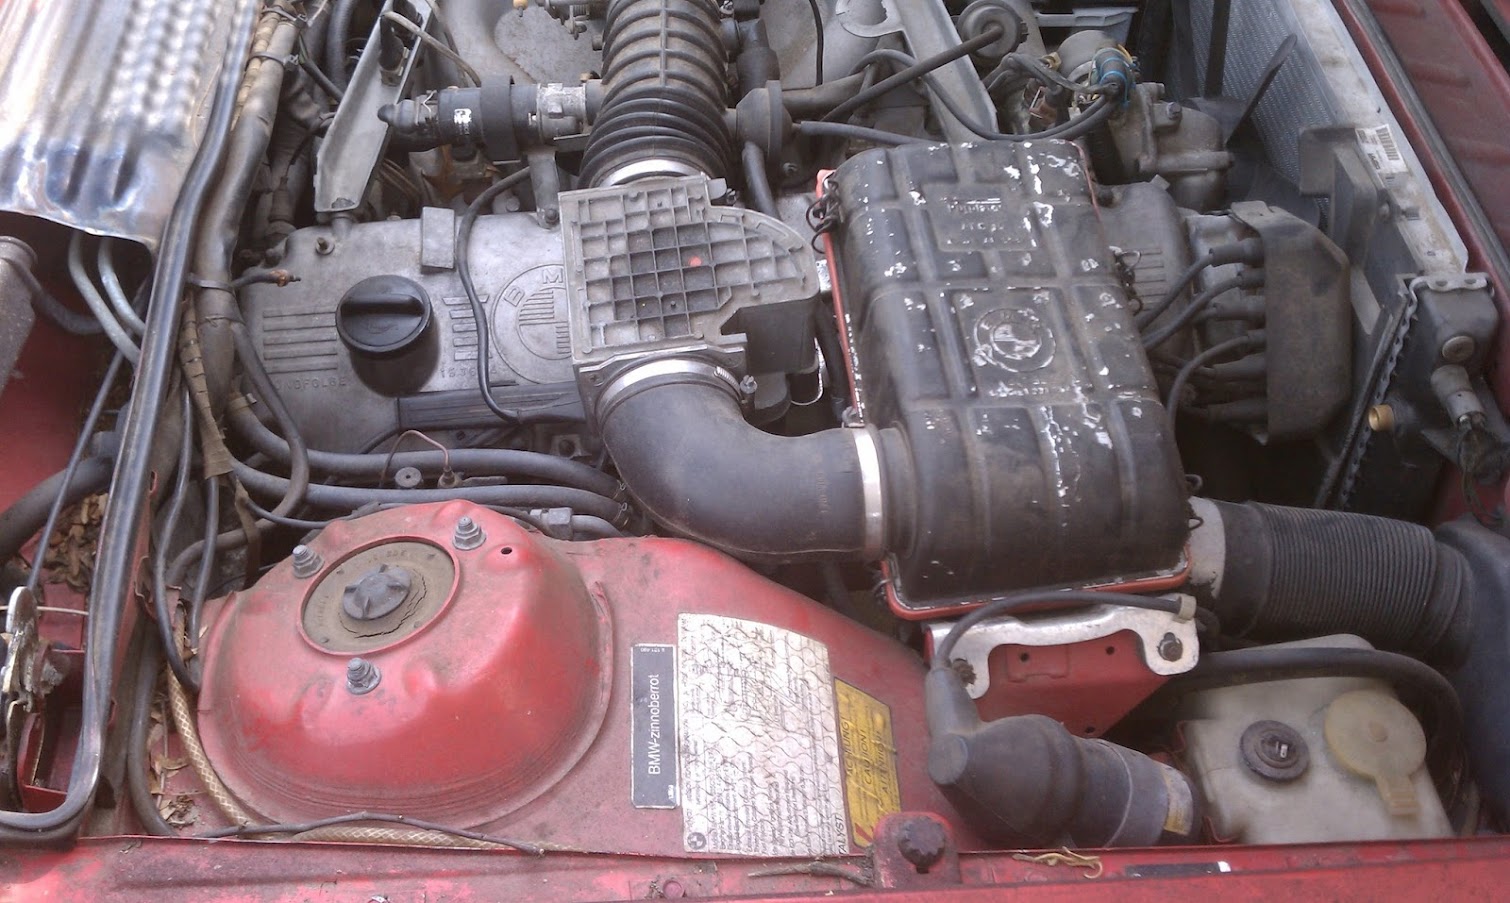
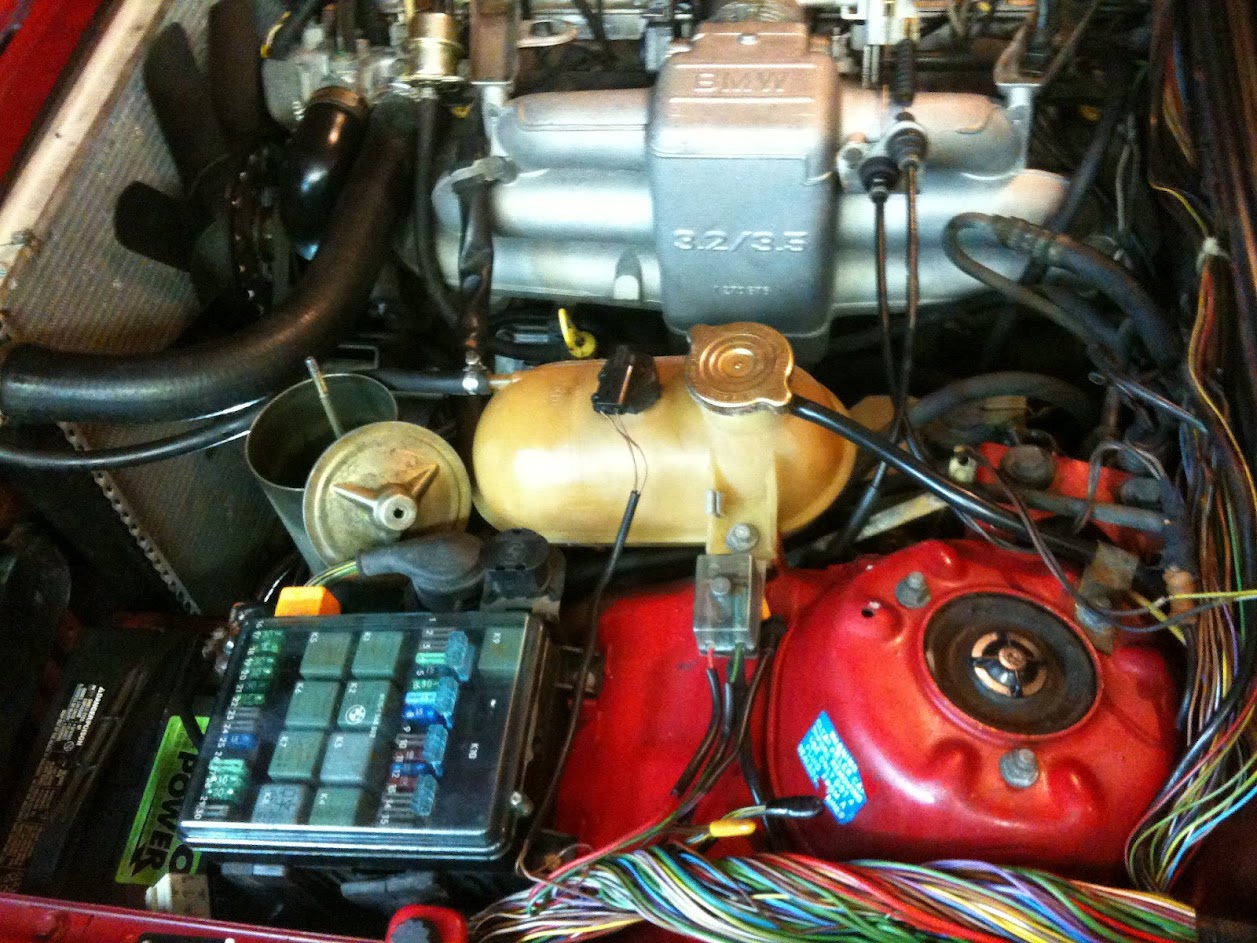
Let the fun begin!


Any engine pull needs to have the trademark shots.

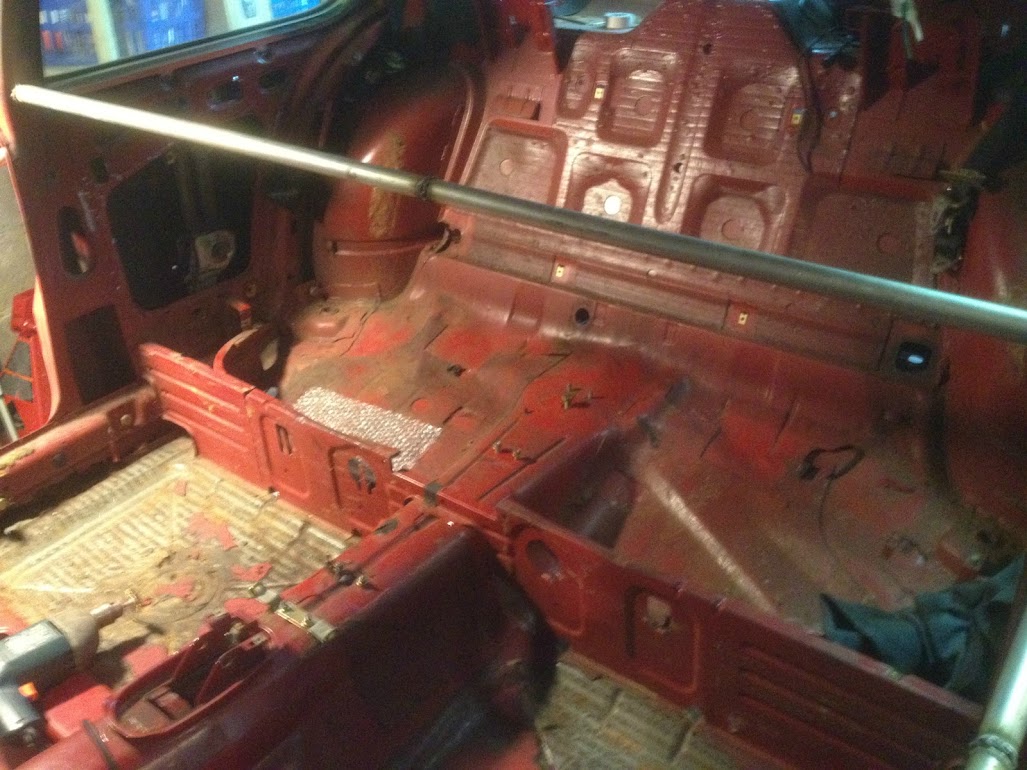
Interior teardown


Dashboard


3/25/2012


3/30/2012


4/20/12 update


7/12/12
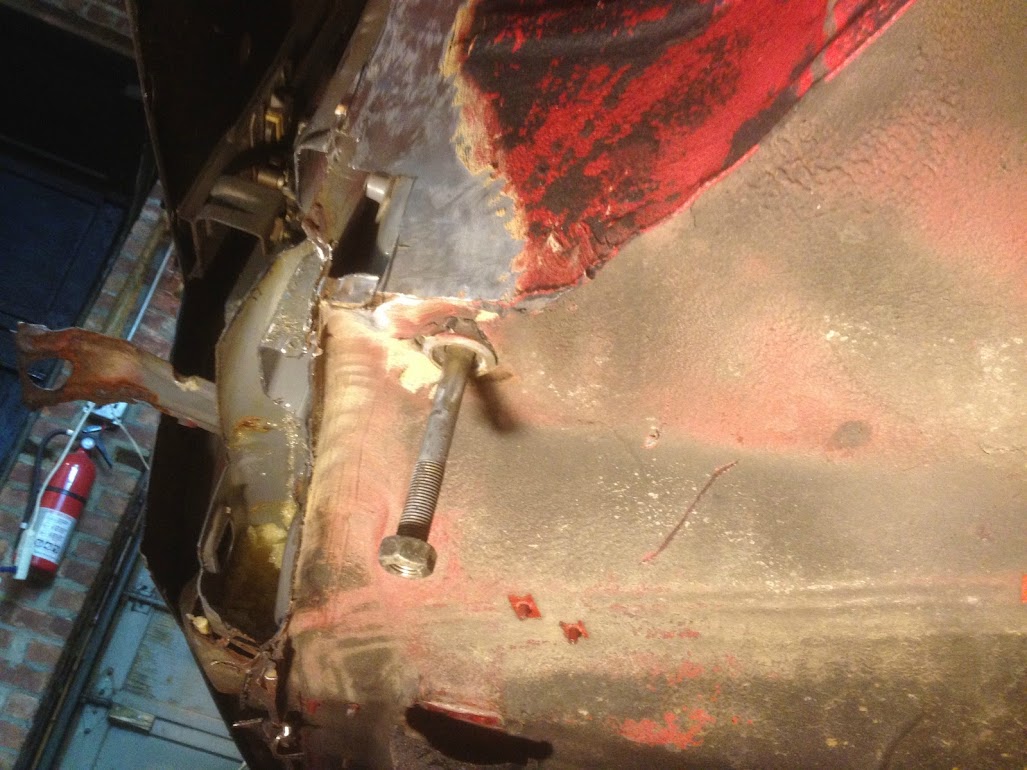
Surgery begins. Full album under link below, I will add more photos later.
https://plus.google.com/photos/10224235 ... 6034656849
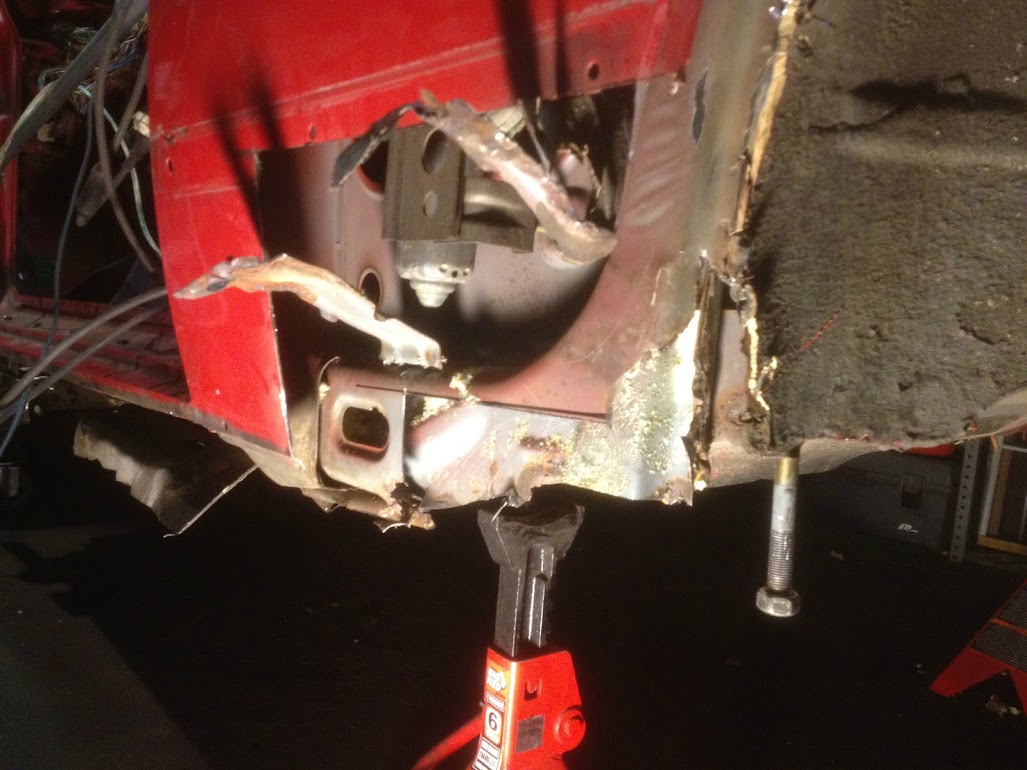


10/01/12
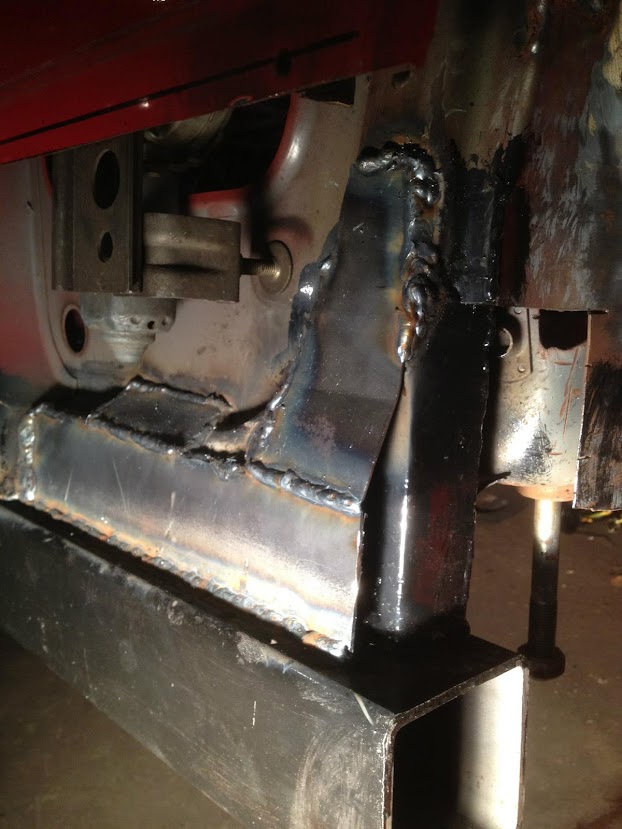
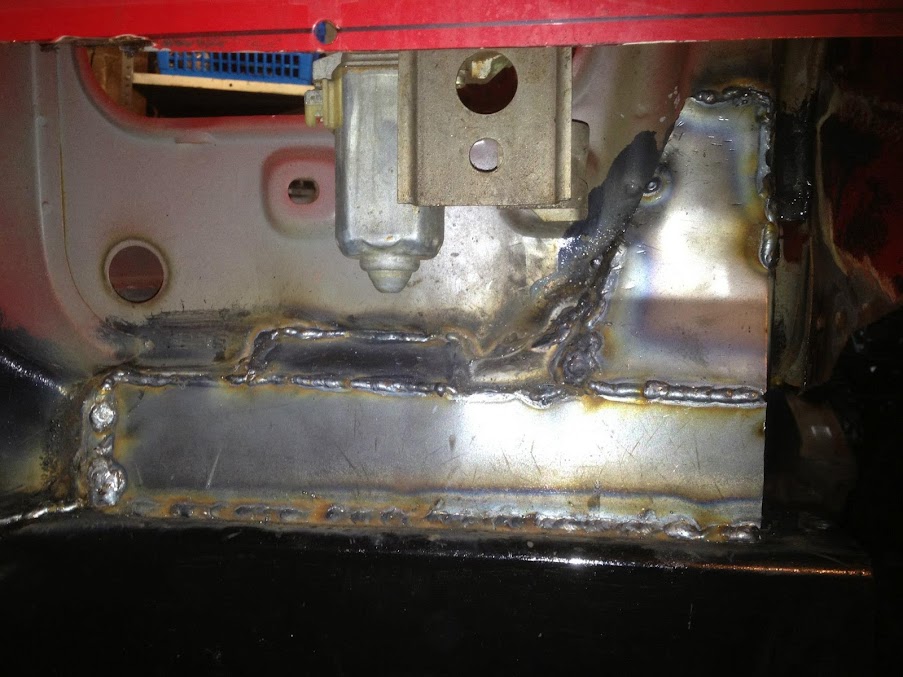
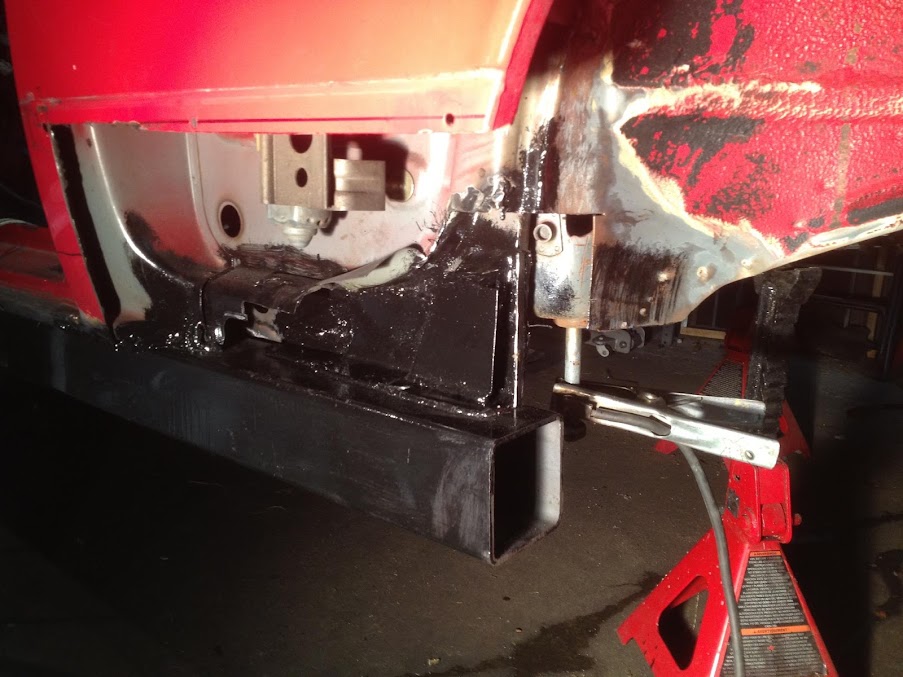
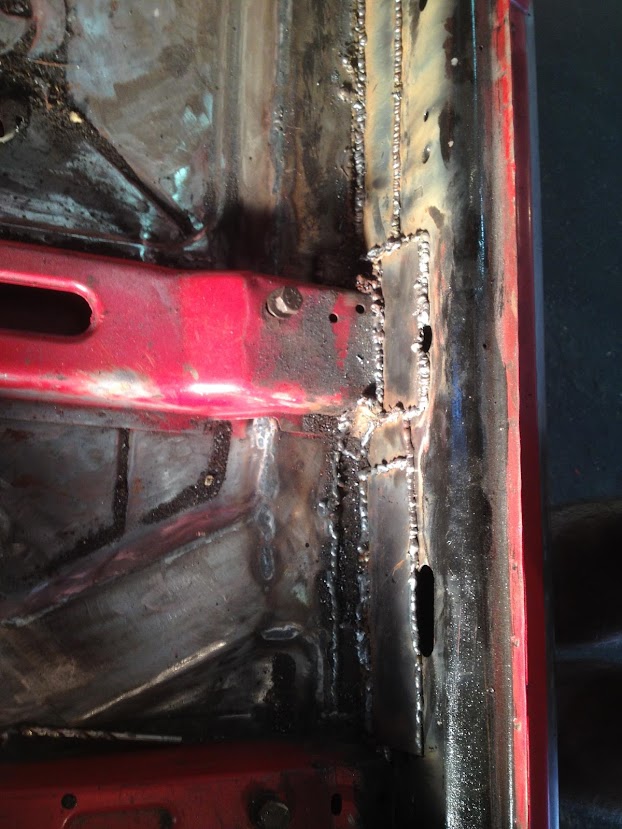

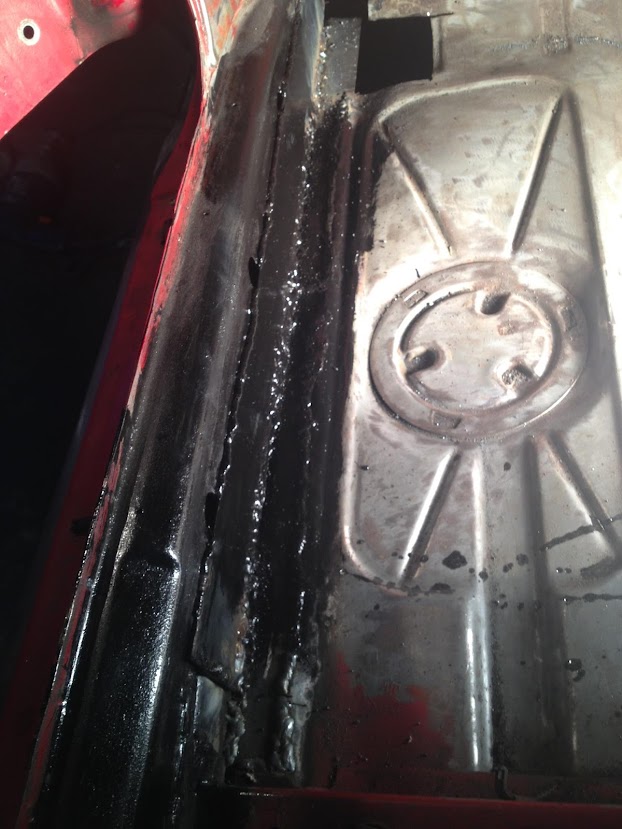
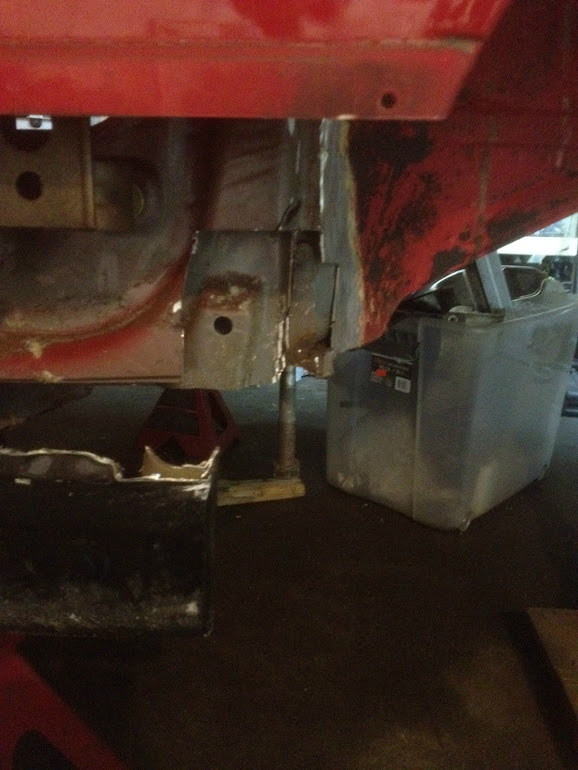
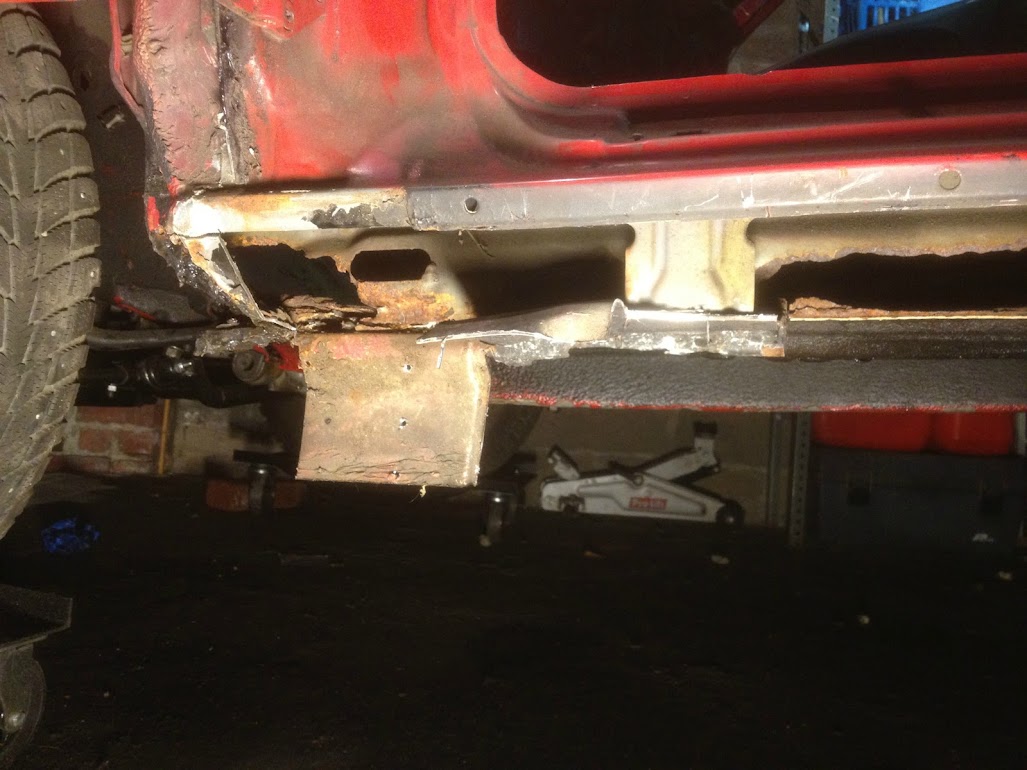
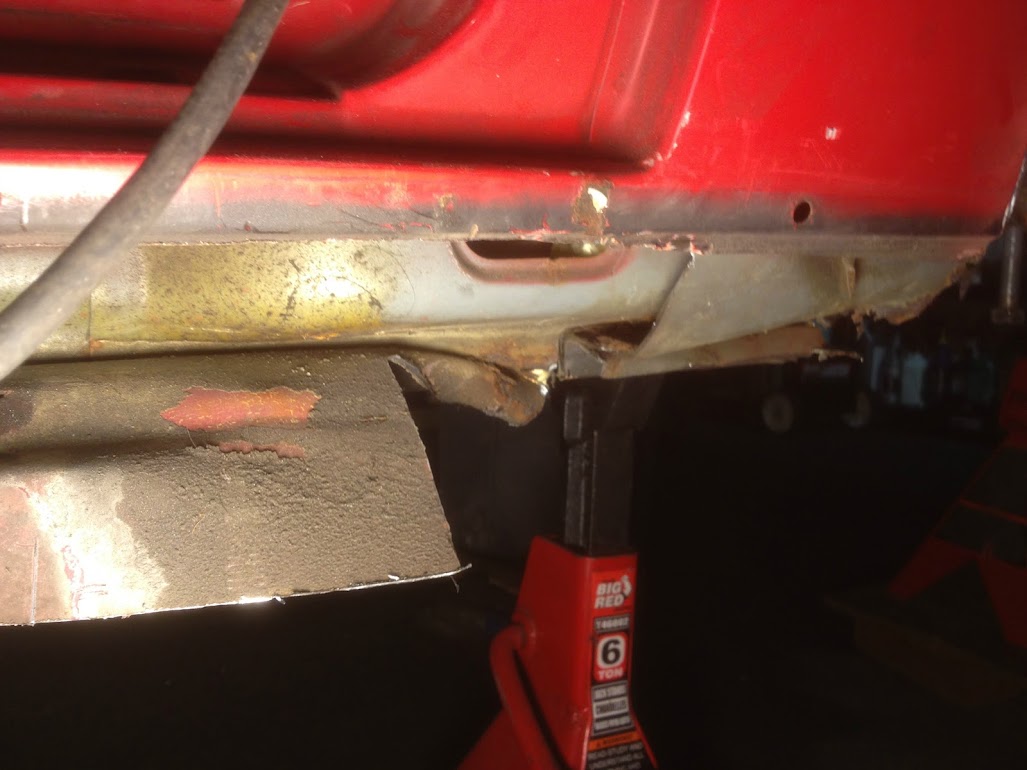
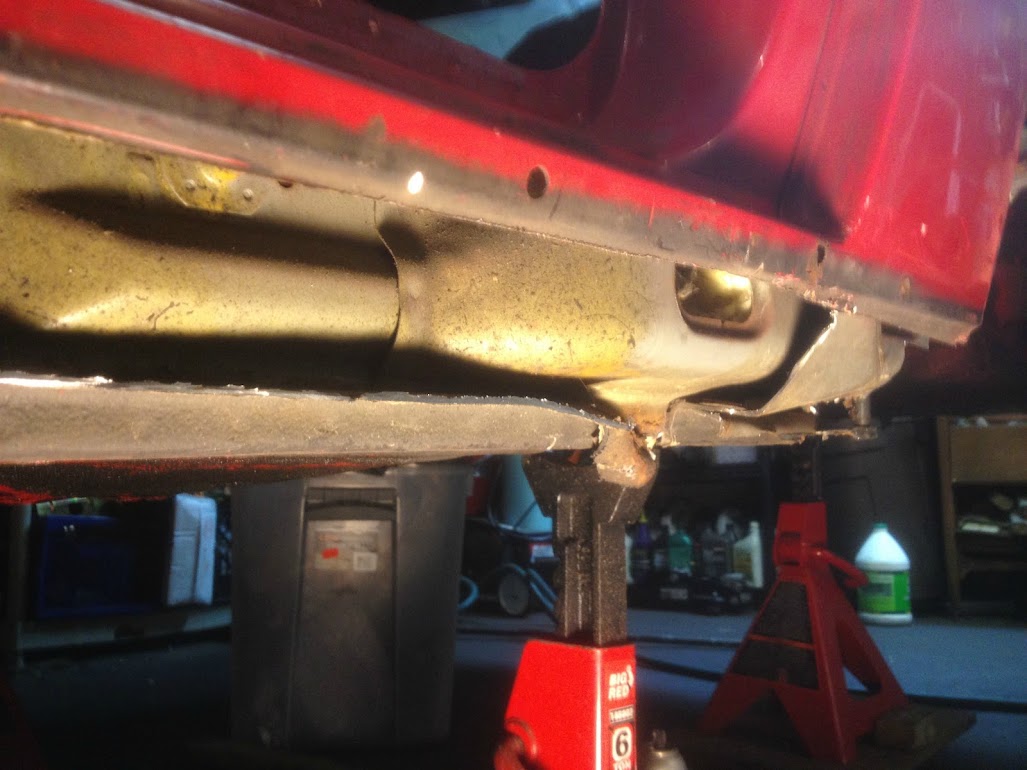
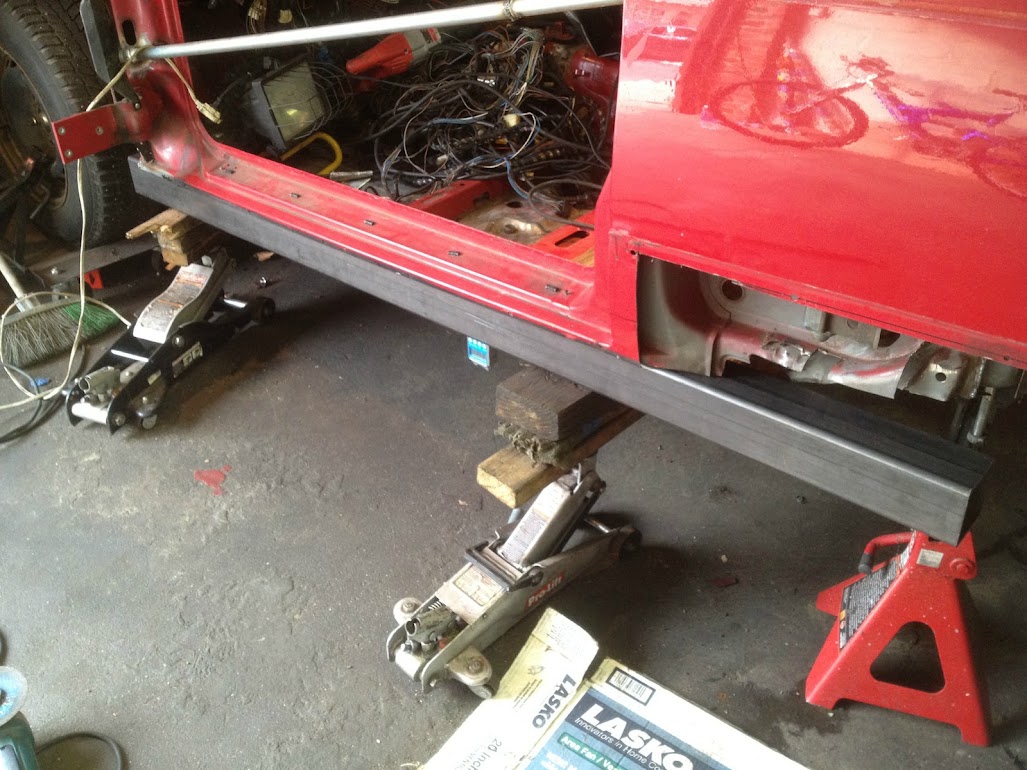
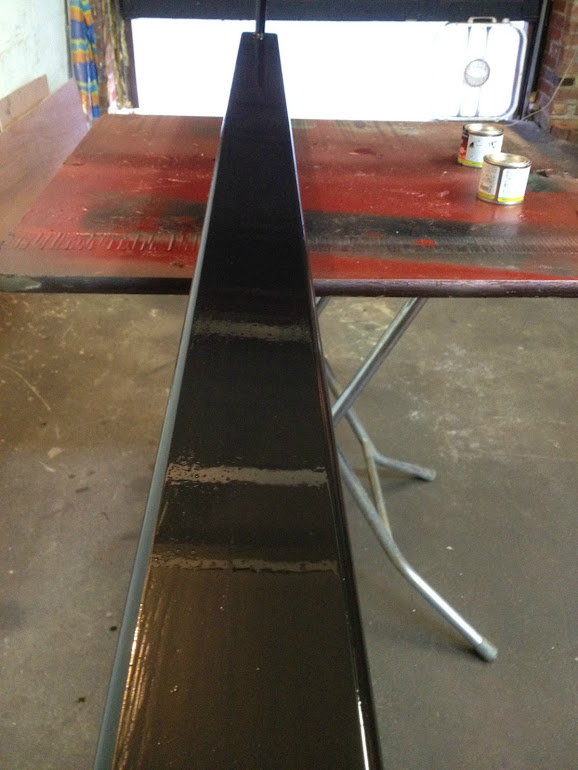
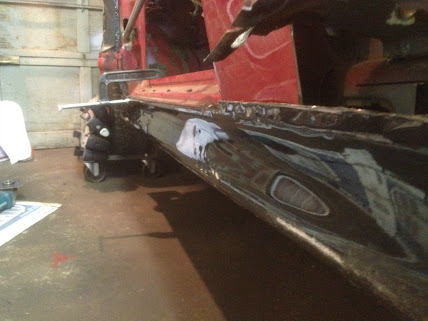
Outer skins
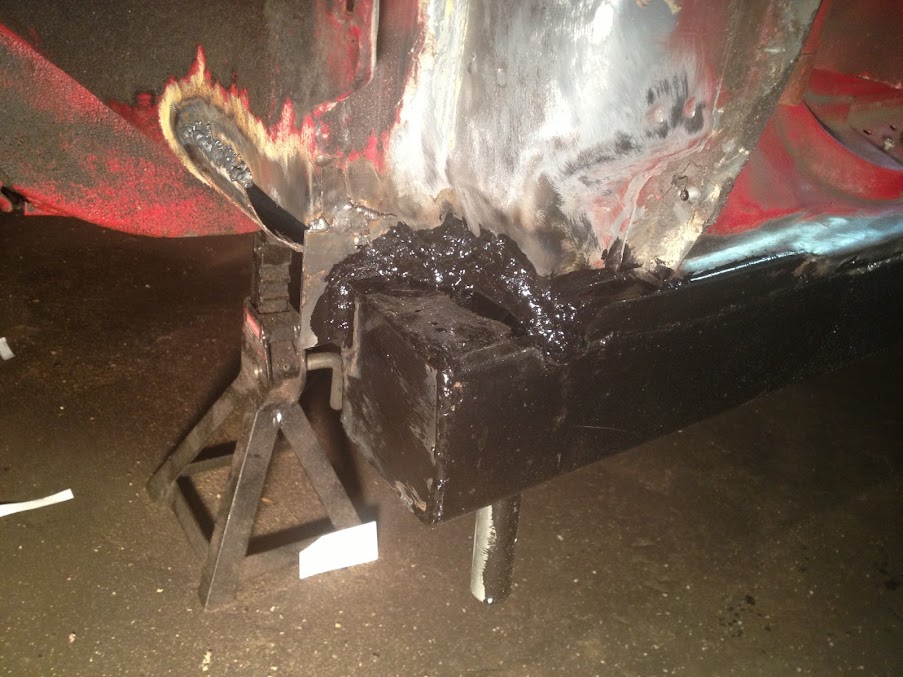
I used only outer skins from 1998 BMW e39. The jack locations have identical width of 5ft so I decided to match the e24 locations.
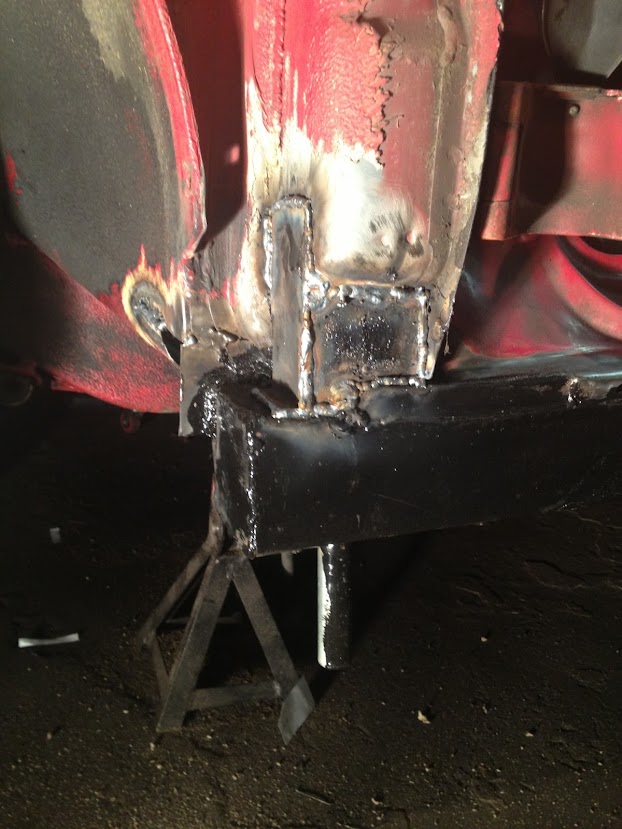
This is just a quick fit to measure out jack point which was rusted out on 6er.
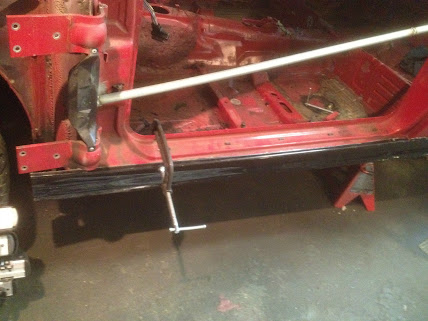
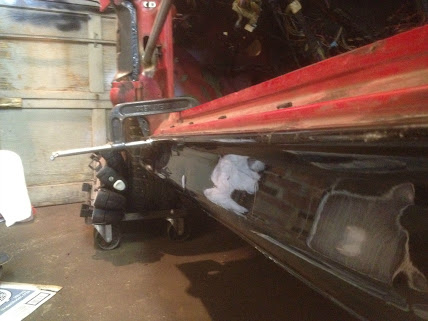
Even though the e39 sideskirts are longer than e24 keeping the e39 jacks untouched required to cut down front which will be used at the end to fill the gap.